Chickpea Chips Recipe for Easy, Crunchy, Family Friendly Snacking Recipe
Introduction
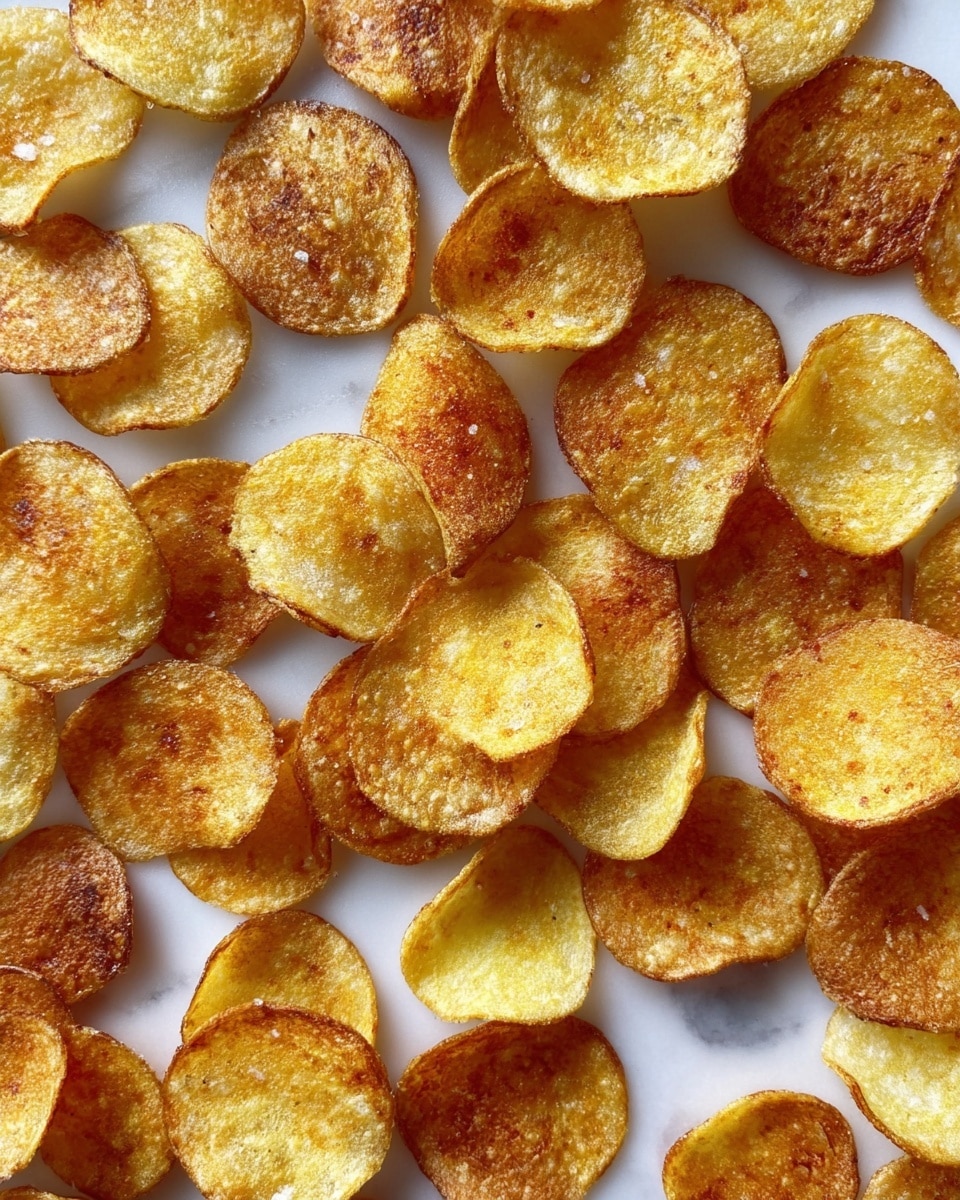
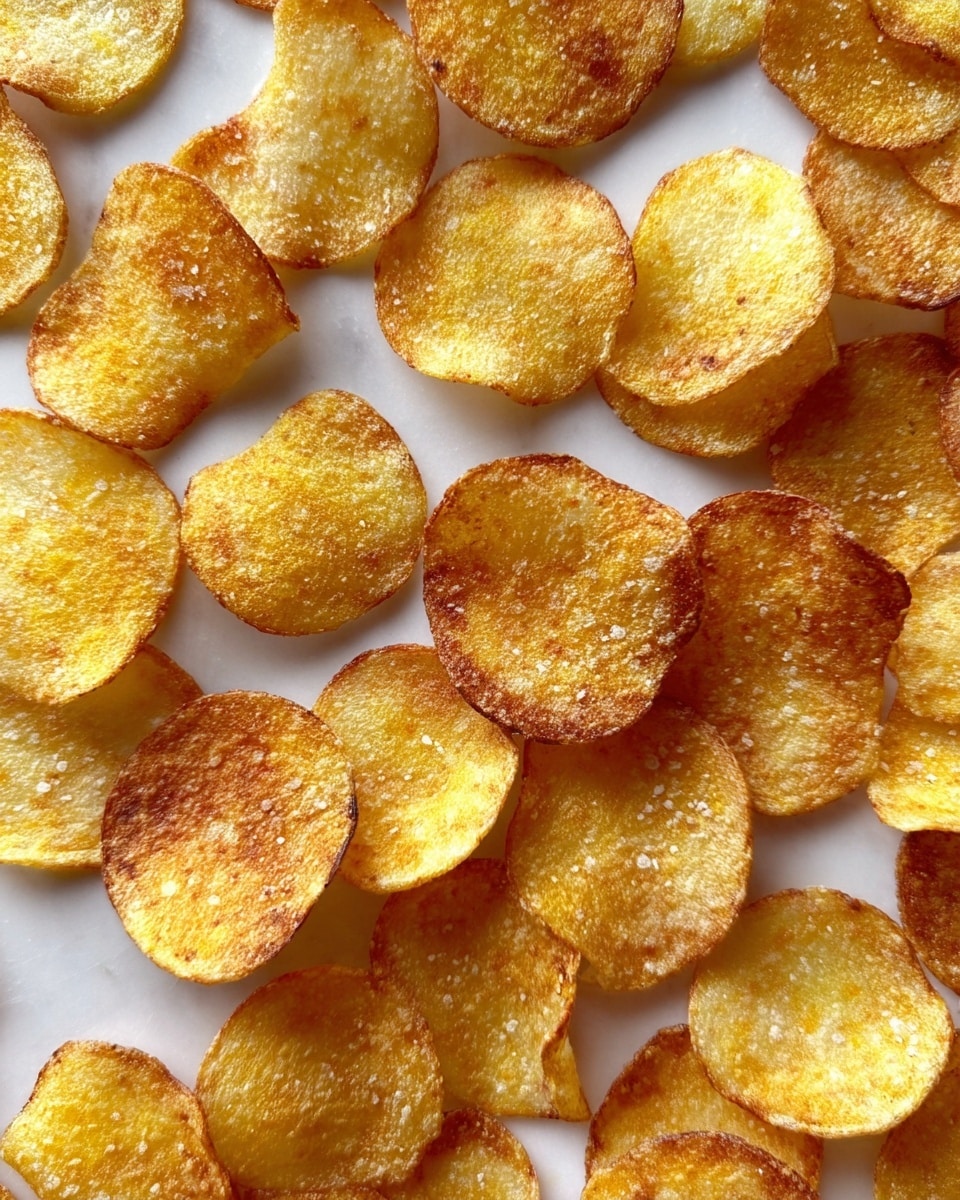
Chickpea chips are a simple, crunchy snack that’s perfect for family gatherings or a quick bite. Made from just a few wholesome ingredients, these chips are naturally gluten-free and customizable with your favorite herbs and spices.
Ingredients
- 80 grams chickpea flour
- 140 grams water
- ½ teaspoon salt
- Chopped fresh herbs, dried herbs, or spices (optional)
Instructions
- Step 1: Preheat your oven to 200°C (400°F).
- Step 2: In a bowl, combine the chickpea flour, water, and salt. Whisk the mixture until it becomes smooth and free of lumps.
- Step 3: Line two baking sheets with parchment paper to prevent sticking.
- Step 4: Spoon the batter onto the parchment and spread it thinly into circles or desired shapes.
- Step 5: Sprinkle your choice of herbs or spices over the batter if you like.
- Step 6: Bake in the preheated oven for about 10 minutes, until the chips are golden and the edges are lightly browned.
- Step 7: Allow the chips to cool on the baking sheets for 15 to 20 minutes before carefully removing them from the parchment.
- Step 8: Serve your chickpea chips plain, with dips, or as a crunchy snack anytime.
Tips & Variations
- For extra crispiness, bake the chips for an additional 1-2 minutes, but watch carefully to avoid burning.
- Try different herbs and spices like rosemary, paprika, cumin, or garlic powder to customize the flavor.
- If you prefer thinner chips, spread the batter more thinly for a lighter crunch.
Storage
Store your chickpea chips in an airtight container at room temperature for up to 4 days. To refresh their crispness, warm them in a low oven for a few minutes before serving.
How to Serve
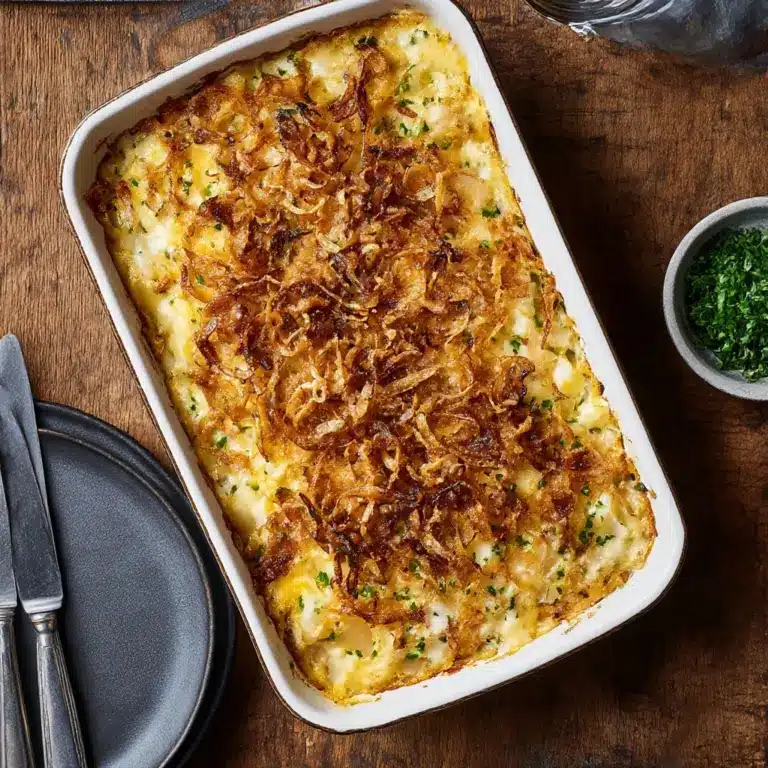
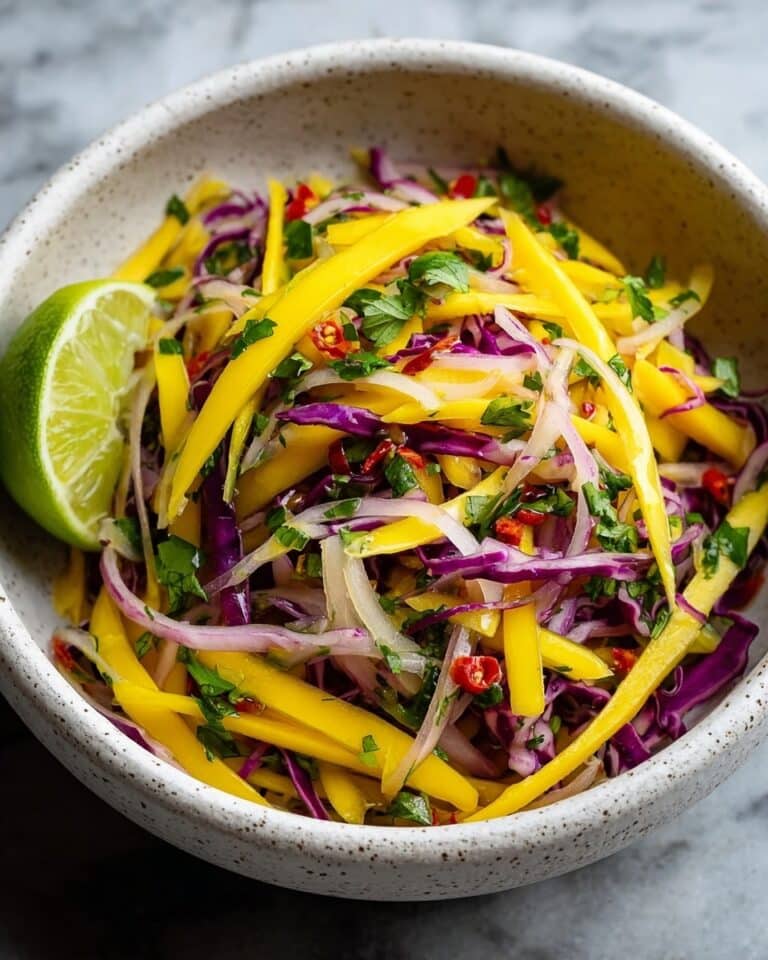
Serve this delicious recipe with your favorite sides.
FAQs
Can I use regular flour instead of chickpea flour?
Chickpea flour provides the unique texture and flavor essential to this recipe. Using regular flour will change the taste and crunch, so it’s best to stick with chickpea flour.
How thin should the batter be spread?
Spread the batter thinly and evenly into circles about 2-3 millimeters thick. Thinner layers will yield crispier chips, while thicker ones might be softer in the center.
PrintChickpea Chips Recipe for Easy, Crunchy, Family Friendly Snacking Recipe
Chickpea Chips are a simple, crunchy, and family-friendly snack made from a batter of chickpea flour, water, and salt, baked until golden and crisp. These homemade chips are perfect for dipping or enjoying on their own, with the option to customize flavors using fresh or dried herbs and spices.
- Prep Time: 5 minutes
- Cook Time: 10 minutes
- Total Time: 25 minutes
- Yield: Approximately 12–15 chips depending on size 1x
- Category: Snack
- Method: Baking
- Cuisine: Mediterranean
- Diet: Gluten Free
Ingredients
Chickpea Chip Batter
- 80 grams chickpea flour
- 140 grams water
- ½ teaspoon salt
Optional Seasonings
- Chopped fresh herbs (such as parsley, cilantro, or rosemary)
- Dried herbs or spices (such as smoked paprika, cumin, or chili flakes)
Instructions
- Preheat the oven: Set your oven to 200°C (400°F) to prepare for baking the chips.
- Mix the batter: In a bowl, combine the chickpea flour, water, and salt. Whisk thoroughly until the mixture is smooth and free of lumps.
- Prepare baking sheets: Line two baking sheets with parchment paper to prevent sticking and for easy cleanup.
- Form the chips: Spoon the batter onto the parchment paper and spread it into thin, even circles to ensure crispness during baking.
- Add seasonings: Sprinkle chopped fresh herbs or your choice of dried herbs and spices over the batter circles to add flavor.
- Bake the chips: Place the baking sheets in the preheated oven and bake for about 10 minutes, or until the chips turn golden and the edges begin to brown.
- Cool before serving: Remove from the oven and let the chips cool on the parchment paper for 15 to 20 minutes to achieve maximum crispness before gently peeling them off.
- Serve and enjoy: Offer the chips with your favorite dips or enjoy them plain as a quick, crunchy snack.
Notes
- Store the chickpea chips in an airtight container for up to 4 days to maintain freshness.
- You can customize the flavor by adding any herbs or spices your family prefers.
- For extra crispiness, bake the chips an additional 1-2 minutes, watching closely to avoid burning.
Keywords: chickpea chips, crunchy snack, gluten free snack, baked chickpea chips, healthy snack, homemade chips, vegan chips