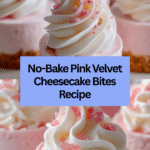
No-Bake Pink Velvet Cheesecake Bites Recipe
Introduction
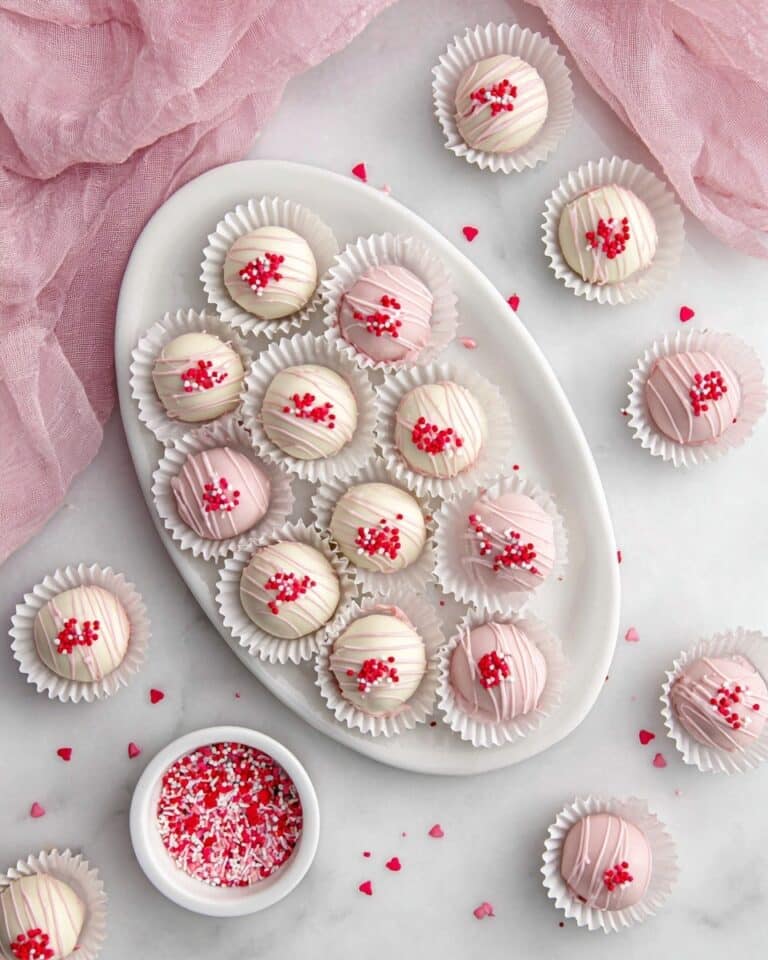
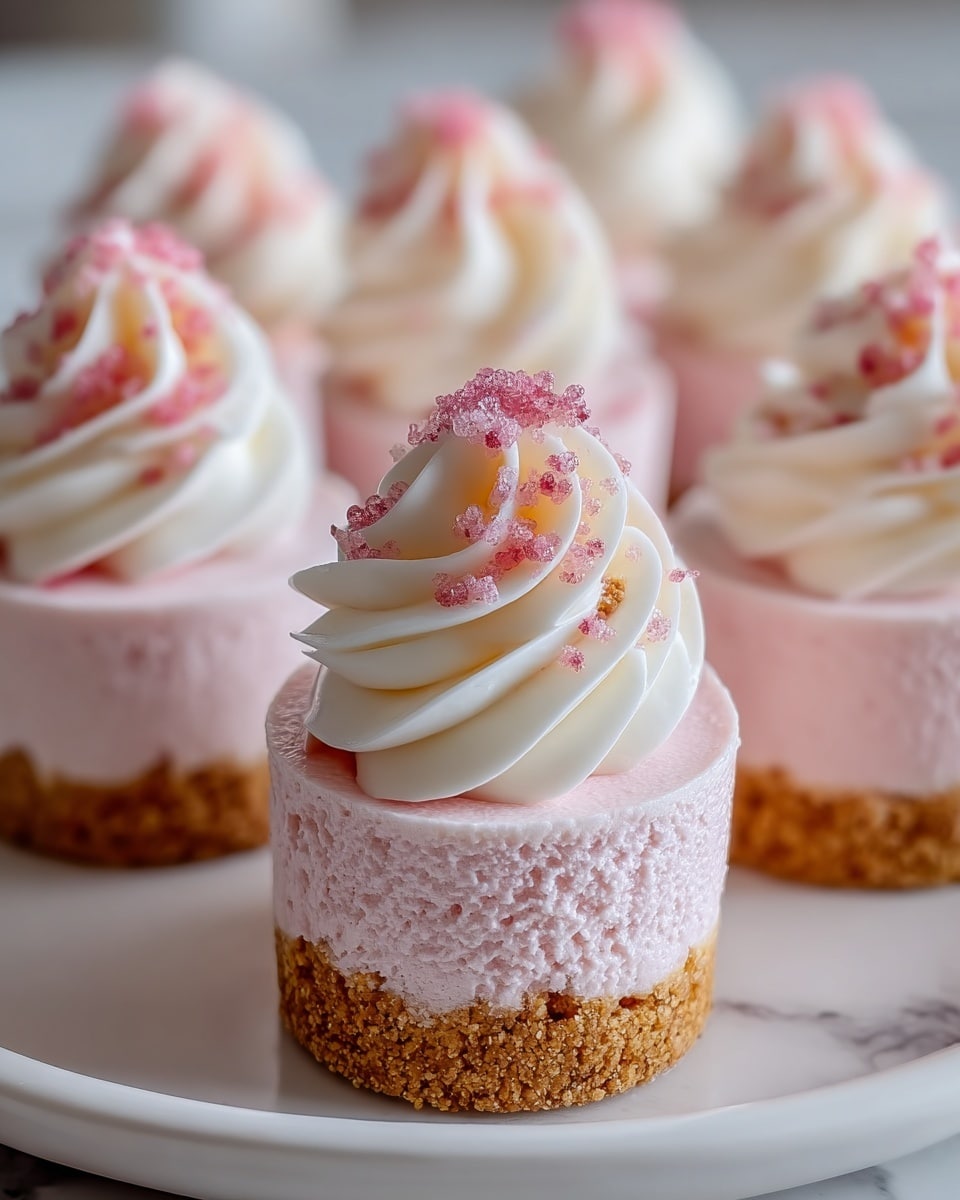
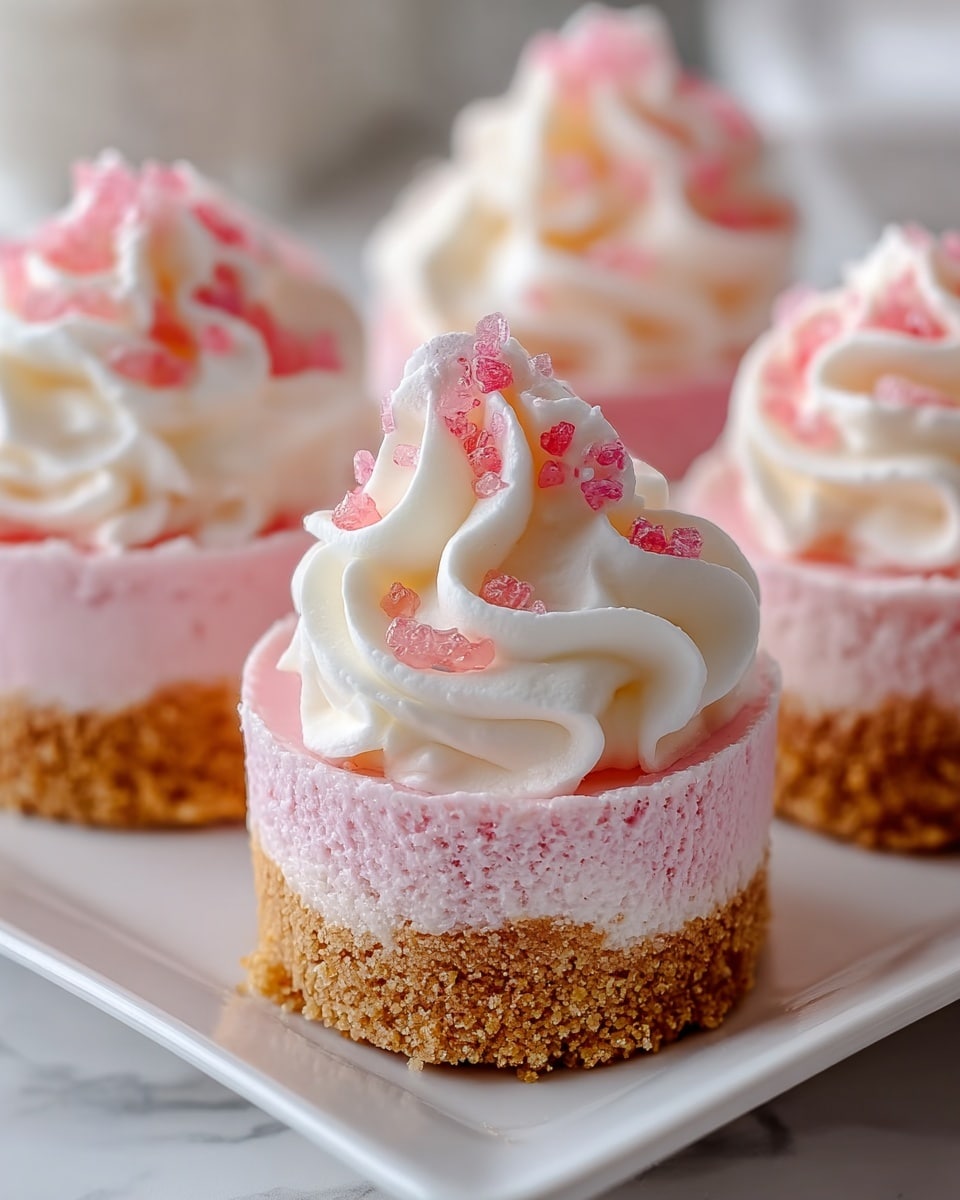
No-Bake Pink Velvet Cheesecake Bites are a delightful and easy-to-make treat perfect for any occasion. With a creamy pink filling atop a buttery graham cracker crust, these fun-sized bites bring a playful twist to classic cheesecake without turning on the oven.
Ingredients
- 1 cup graham cracker crumbs
- 1/4 cup granulated sugar
- 1/2 cup unsalted butter, melted
- 16 oz cream cheese, softened
- 1 cup powdered sugar
- 1/2 cup heavy cream
- 1 tsp vanilla extract
- 1 tbsp pink food coloring
- 1/2 cup whipped cream
- Sprinkles (optional)
Instructions
- Step 1: In a medium bowl, combine graham cracker crumbs, granulated sugar, and melted butter. Mix until well combined.
- Step 2: Press the mixture firmly into the bottom of a 9-inch square baking dish to form the crust.
- Step 3: In a large mixing bowl, beat the softened cream cheese until smooth and creamy.
- Step 4: Add powdered sugar, heavy cream, vanilla extract, and pink food coloring to the cream cheese. Beat until fully combined and fluffy.
- Step 5: Spread the cheesecake filling evenly over the crust.
- Step 6: Refrigerate for at least 4 hours or until set.
- Step 7: Once set, top with whipped cream and sprinkle with optional sprinkles before cutting into bite-sized squares.
Tips & Variations
- For a gluten-free version, use gluten-free graham cracker crumbs in the crust.
- Swap the cream cheese with a dairy-free alternative to make this dessert vegan-friendly.
- Use natural beet juice or strawberry puree instead of food coloring for a natural pink hue and added flavor.
- Chill the mixing bowl and beaters for the filling to help achieve a fluffier texture.
Storage
Store leftover cheesecake bites in an airtight container in the refrigerator for up to 5 days. To enjoy, let them sit at room temperature for a few minutes or serve chilled. These bites can be made up to 2 days in advance, making them great for parties or meal prep.
How to Serve
Serve this delicious recipe with your favorite sides.
FAQs
Can I use a different type of crust for these cheesecake bites?
Yes, you can substitute the graham cracker crust with crushed cookies, such as vanilla wafers or digestive biscuits, depending on your preference.
Do I need to bake these cheesecake bites?
No, this recipe is entirely no-bake, making it simple and quick to prepare without needing an oven.
PrintNo-Bake Pink Velvet Cheesecake Bites Recipe

These No-Bake Pink Velvet Cheesecake Bites are a delightful and easy-to-make dessert featuring a creamy, pink-hued cheesecake filling atop a buttery graham cracker crust. Perfect for parties or a sweet treat, they require no oven time and set beautifully in the refrigerator.
- Prep Time: 20 minutes
- Cook Time: 0 minutes
- Total Time: 4 hours 20 minutes
- Yield: 16 bites 1x
- Category: Desserts
- Method: No-Cook
- Cuisine: American
Ingredients
Crust:
- 1 cup graham cracker crumbs
- 1/4 cup granulated sugar
- 1/2 cup unsalted butter, melted
Filling:
- 16 oz cream cheese, softened
- 1 cup powdered sugar
- 1/2 cup heavy cream
- 1 tsp vanilla extract
- 1 tbsp pink food coloring
Topping:
- 1/2 cup whipped cream
- Sprinkles (optional)
Instructions
- Prepare the crust: In a medium bowl, combine graham cracker crumbs, granulated sugar, and melted butter. Mix until well combined to create a sandy mixture. Press this mixture firmly into the bottom of a 9-inch square baking dish to form an even crust layer.
- Make the filling: In a large mixing bowl, beat the softened cream cheese until smooth and creamy using a mixer. Gradually add powdered sugar, heavy cream, vanilla extract, and pink food coloring. Continue beating until the filling is fully combined, fluffy, and has a uniform pink color.
- Assemble the cheesecake: Spread the cheesecake filling evenly over the prepared graham cracker crust, smoothing the surface for an even layer.
- Chill and set: Refrigerate the assembled cheesecake for at least 4 hours, or until firm and set, allowing the flavors to meld and the texture to become sliceable.
- Add toppings and serve: Once set, top the cheesecake with whipped cream and optional sprinkles for decoration. Cut into bite-sized squares and serve chilled.
Notes
- Make-ahead: These cheesecake bites can be made up to 2 days in advance and stored in the refrigerator to save time.
- Storage: Keep leftovers in an airtight container in the fridge for up to 5 days to maintain freshness.
- Substitutions: Use gluten-free graham crackers for a gluten-free variation or swap cream cheese with a dairy-free alternative for dietary needs.
Keywords: pink velvet cheesecake, no-bake cheesecake bites, no-bake dessert, creamy cheesecake, easy desserts, party treats, American dessert