The Ultimate Biscoff Rice Krispie Treats: A No-Bake Sensation Recipe
Introduction
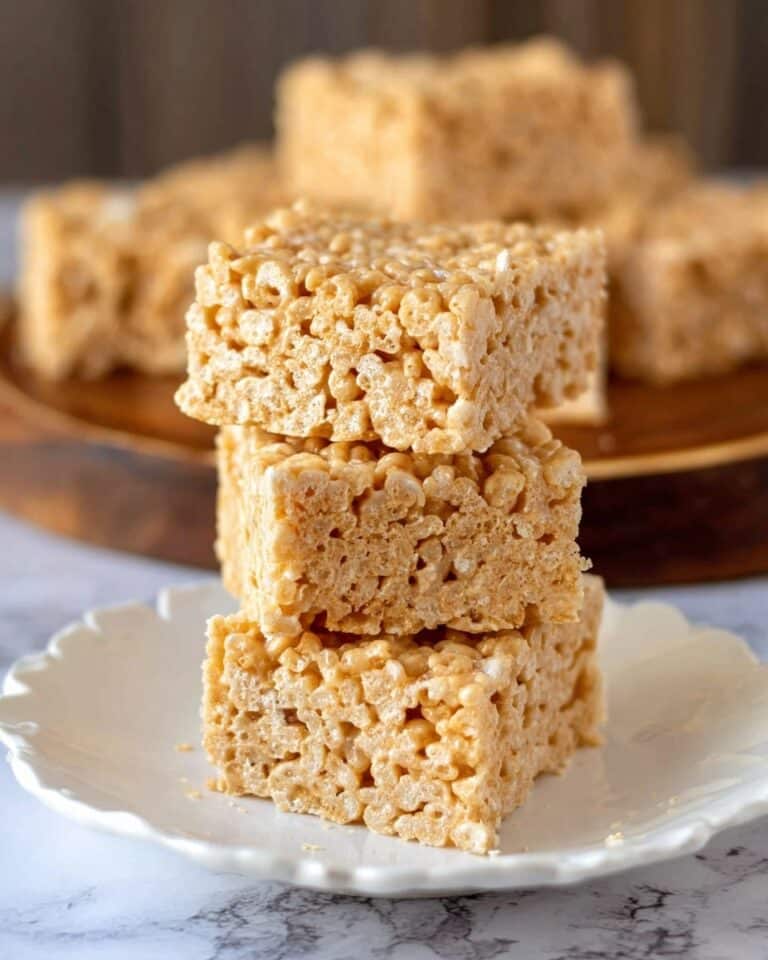
Discover the ultimate twist on a classic treat with these Biscoff Rice Krispie Treats. Combining the beloved crunch of Rice Krispies with the rich, spiced flavor of Biscoff spread and biscuits, these no-bake squares are irresistibly gooey and crunchy.
Ingredients
- 90g (6 tablespoons) unsalted butter
- 280g (10-ounce) bag mini marshmallows, plus 1 cup (around 50g) extra
- 200g (about ¾ cup) smooth Biscoff spread
- 180g (approximately 6 cups) Rice Krispies cereal
- 125g (about 16) Lotus Biscoff biscuits, crushed
- 1 teaspoon vanilla extract
- A pinch of sea salt
Instructions
- Step 1: Prepare a 9×9 inch (23×23 cm) square baking tin by lining it with baking parchment, leaving an overhang on two sides for easy lifting. Lightly grease the parchment and any exposed tin areas with butter or neutral cooking spray.
- Step 2: In a large, heavy-based saucepan over low heat, gently melt the butter without allowing it to brown.
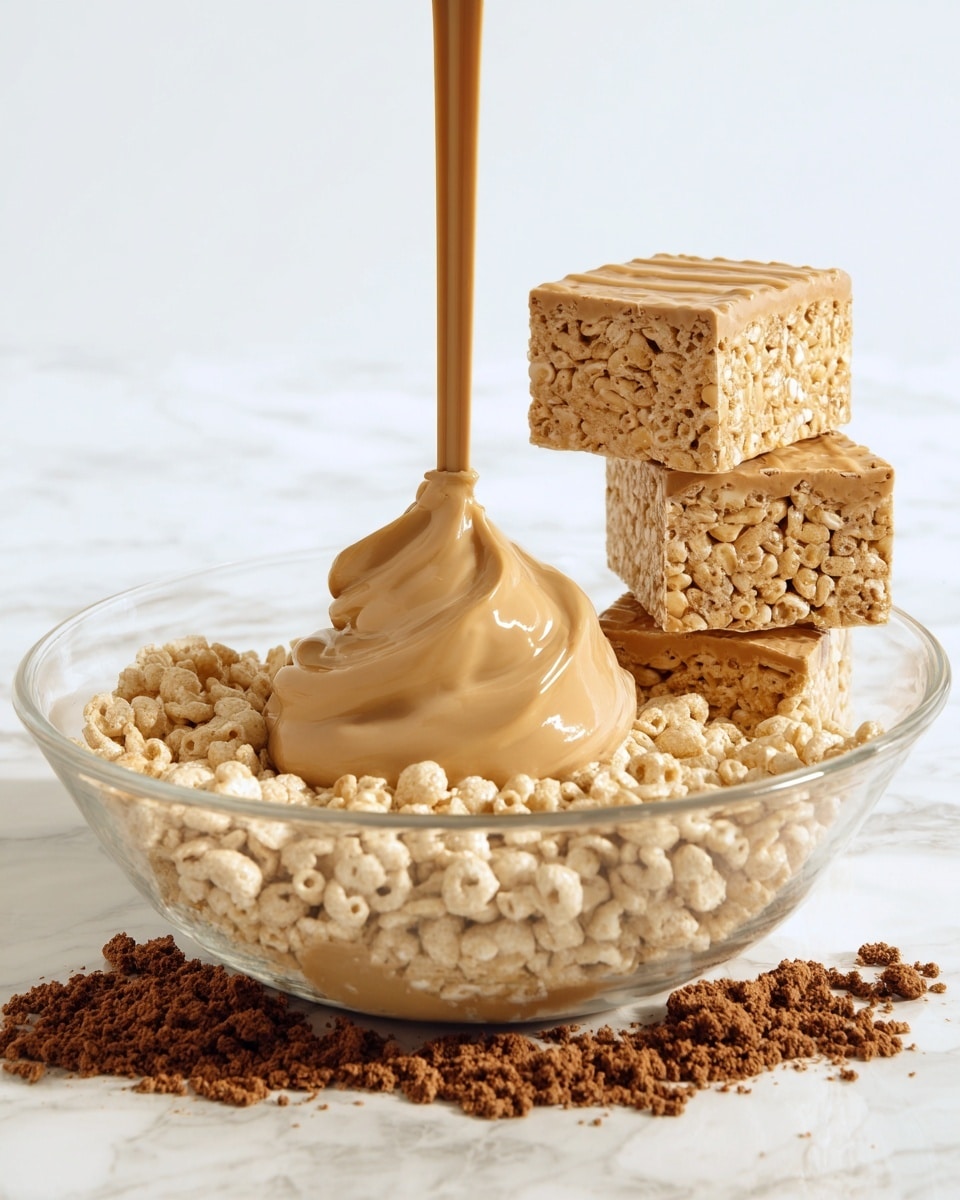
- Step 3: Add the 280g bag of mini marshmallows and the smooth Biscoff spread to the melted butter. Stir constantly with a silicone spatula until the mixture is completely smooth and combined. Keep the heat low to avoid burning.
- Step 4: Remove the pan from heat and stir in the vanilla extract and pinch of sea salt to enhance the flavors.
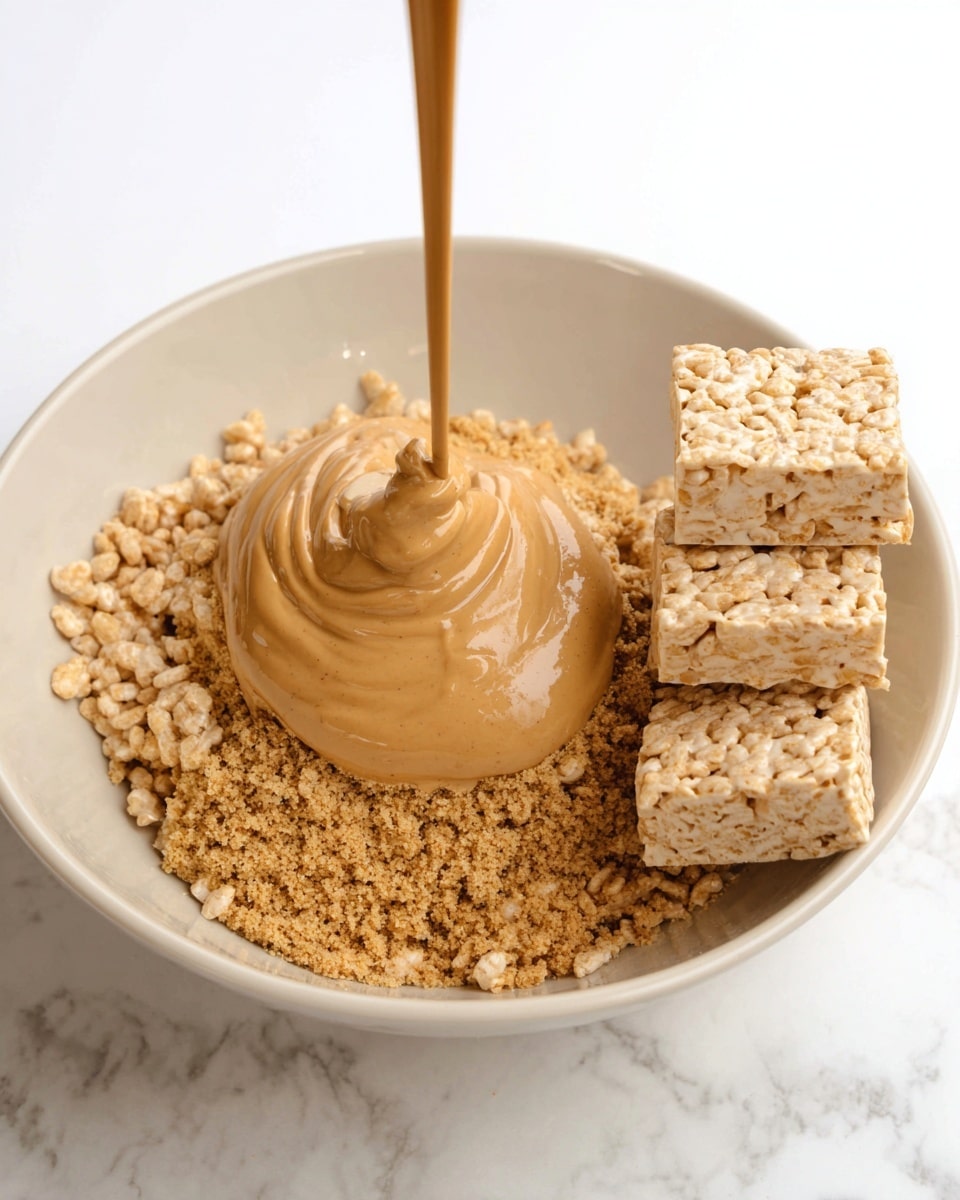
- Step 5: Add the Rice Krispies cereal and crushed Biscoff biscuits to the marshmallow mixture. Gently fold everything together until evenly coated. Work quickly as the mixture will start to set.
- Step 6: Fold in the reserved 1 cup of mini marshmallows with only one or two stirs. These will create soft pockets inside the treats for extra gooeyness.
- Step 7: Transfer the mixture into the prepared tin. Using a greased spatula or parchment, gently press the mixture into an even layer without compressing it too tightly.
- Step 8: Allow the treats to set at room temperature for at least one hour to firm up before slicing and serving.
Tips & Variations
- For a richer flavor, try using salted butter but reduce additional salt in the recipe accordingly.
- Swap Rice Krispies for a gluten-free puffed rice cereal if you need a gluten-free option.
- Mix in chopped nuts or chocolate chips for added texture and flavor variety.
- Press the mixture gently to keep the treats light and airy rather than dense.
Storage
Store your Biscoff Rice Krispie Treats in an airtight container at room temperature for up to 3 days. To keep them fresh longer, refrigerate for up to a week, but allow them to come to room temperature before eating for the best texture. Avoid freezing as it can affect the marshmallow consistency.
How to Serve
Serve this delicious recipe with your favorite sides.
FAQs
Can I use crunchy Biscoff spread instead of smooth?
Yes, but smooth Biscoff spread blends more evenly into the marshmallow base, giving a better texture. Crunchy spread will add small bits of cookie but might affect the smoothness slightly.
What if I don’t have Lotus Biscoff biscuits?
You can substitute with any cinnamon-spiced cookies or graham crackers crushed into small pieces. While the flavor will differ, the added crunch and warmth will still enhance the treats.
PrintThe Ultimate Biscoff Rice Krispie Treats: A No-Bake Sensation Recipe

These Ultimate Biscoff Rice Krispie Treats combine the classic crunchy texture of Rice Krispies cereal with the rich, caramelized flavor of Lotus Biscoff spread and crushed biscuits. This no-bake recipe uses melted butter and marshmallows to create a gooey, velvety base, enhanced with vanilla and a pinch of sea salt for perfectly balanced sweetness. Finished with pockets of mini marshmallows folded in for extra softness, these treats are an irresistible, crunchy-yet-chewy delight that sets effortlessly at room temperature.
- Prep Time: 15 minutes
- Cook Time: 10 minutes
- Total Time: 1 hour 25 minutes
- Yield: 16 squares 1x
- Category: No-Bake Dessert
- Method: No-Cook
- Cuisine: American
- Diet: Vegetarian
Ingredients
Base Ingredients
- 90g (6 tablespoons) unsalted butter
- 280g (10-ounce) bag mini marshmallows
- 200g (¾ cup) smooth Biscoff spread
Mix-ins
- 180g (6 cups) Rice Krispies cereal
- 125g (around 16) Lotus Biscoff biscuits, crushed
- Additional 1 cup (approx. 50g) mini marshmallows, reserved for folding in
Flavorings
- 1 teaspoon good-quality vanilla extract
- A pinch of sea salt
Instructions
- Prepare Your Tin: Line a 9×9 inch (23×23 cm) square baking tin with baking parchment, allowing an overhang on two opposite sides for easy removal. Lightly grease the parchment and any exposed tin areas with butter or neutral cooking spray to prevent sticking.
- Melt the Base: In a large, heavy-based saucepan or Dutch oven, gently melt 90g of unsalted butter over low heat, ensuring it does not brown for best flavor and consistency.
- Add Marshmallows and Biscoff: Once the butter is melted, add the entire 280g bag of mini marshmallows and 200g of smooth Biscoff spread. Stir constantly with a silicone spatula over low heat until the mixture is completely smooth and fully combined, creating a velvety base.
- Incorporate Flavour Boosters: Remove the saucepan from heat and quickly stir in 1 teaspoon of vanilla extract and a pinch of sea salt to enhance and balance the sweetness with subtle depth.
- Combine with Crispies and Biscuits: Add 180g Rice Krispies cereal and 125g crushed Biscoff biscuits to the marshmallow mixture. Stir gently and quickly with a greased spatula until all cereal and crumbs are evenly coated, working fast as the mixture begins to set.
- Add More Marshmallows (The Secret Step!): Fold in the reserved 1 cup of mini marshmallows just once or twice to keep them intact, creating soft, gooey pockets inside the treats for added texture and indulgence.
- Press into the Tin: Transfer the mixture into your prepared tin and gently press it down evenly with a greased spatula or piece of parchment. Avoid pressing too firmly to maintain a light, chewy consistency rather than dense and hard.
- Let It Set: Allow the treats to set at room temperature for at least one hour to firm up enough for clean slicing and serving.
Notes
- Using mini marshmallows helps achieve a smoother, more uniform melt compared to large marshmallows.
- Low heat melting is crucial to prevent butter browning and marshmallow scorching for best consistency.
- The additional folded-in mini marshmallows add delightful softness and gooey pockets inside the final treats.
- Lining the tin with parchment and leaving an overhang makes it easy to lift out the whole block for neat, uniform cuts.
- Do not over-press the mixture into the tin to maintain a light and chewy texture.
- Feel free to substitute salted butter if unsalted is unavailable; just adjust the pinch of salt accordingly.
Keywords: Biscoff Rice Krispie Treats, No-Bake Dessert, Lotus Biscoff, Marshmallow Treats, No-Bake Sweets, Crispy Treats, Easy Dessert