Pear Jam Recipe
Introduction
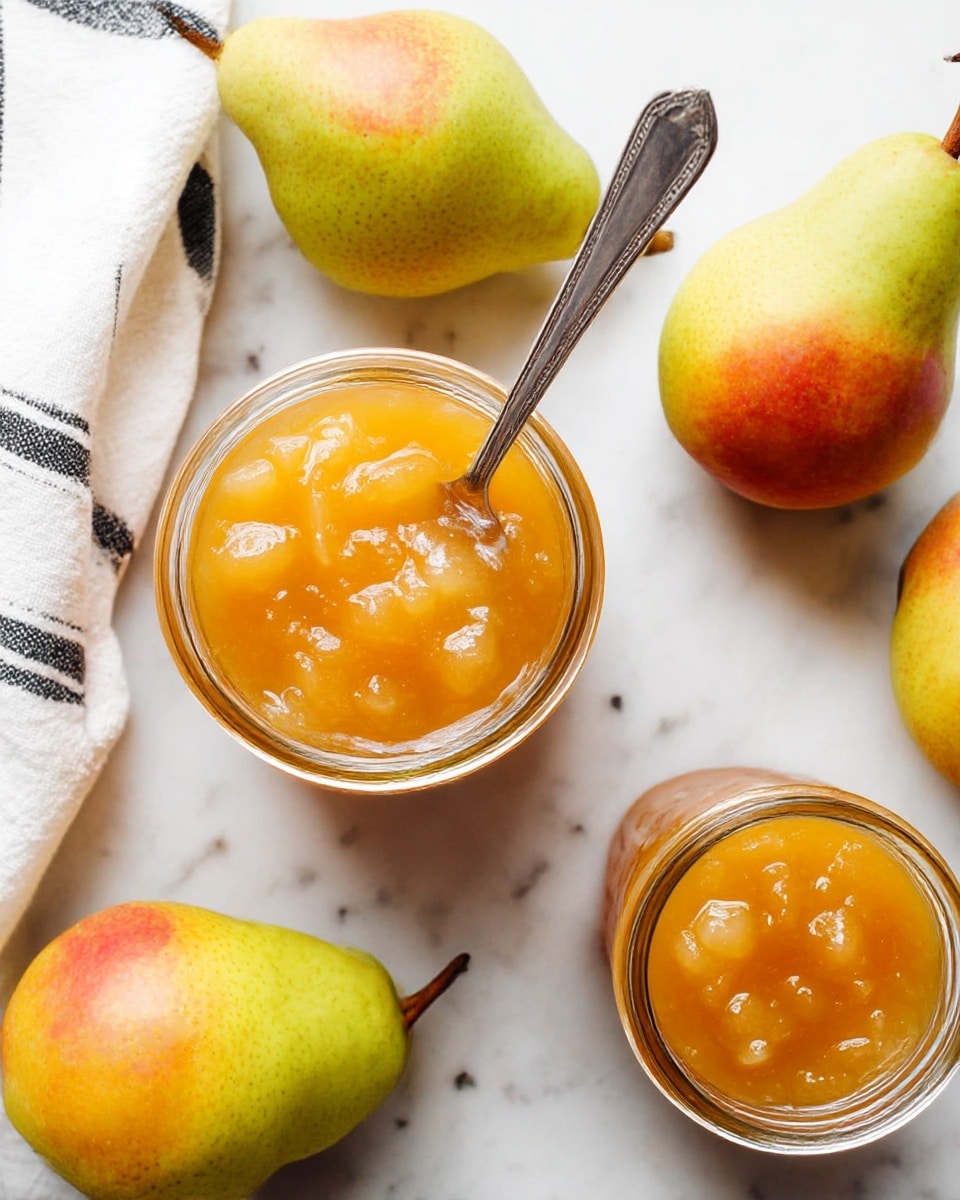
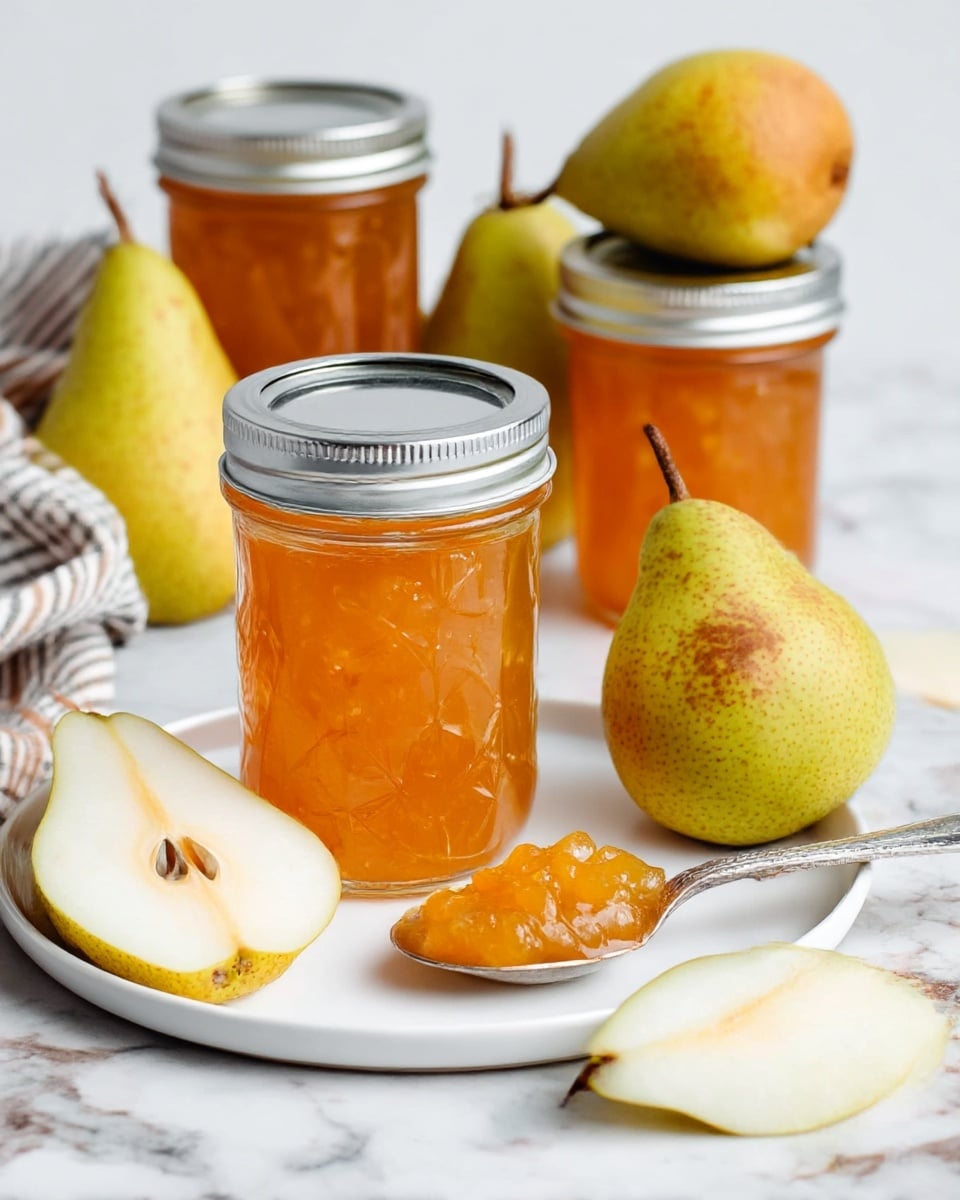
Pear jam is a delightful way to capture the sweet, delicate flavor of ripe pears. This simple recipe yields a smooth, luscious preserve perfect for toast, desserts, or gifting. With just a few ingredients and some patience, you can enjoy homemade pear jam year-round.
Ingredients
- 4 lbs pears, as purchased
- 2 to 3 cups sugar, to taste
- 1/4 cup lemon juice, fresh or bottled
Instructions
- Step 1: Peel, core, and dice the pears into small pieces. If the pieces are too large after cooking, you can mash the jam to your preferred texture.
- Step 2: In a large bowl, combine the diced pears with lemon juice and sugar. Stir well to coat all the fruit evenly.
- Step 3: Cover the bowl and refrigerate for 12 to 24 hours to macerate. If short on time, 4 hours will also work.
- Step 4: Transfer the pear mixture and syrup to a large, heavy-bottomed saucepan or jam pot.
- Step 5: Bring the mixture to a boil over high heat. Reduce heat to medium-high and cook for 10 to 15 minutes, stirring occasionally.
- Step 6: Check for setting by testing the jam’s temperature—it should reach about 220°F (105°C)—or by placing a small amount on a cold plate to see if it gels.
- Step 7: Pour the hot pear jam into sterilized half-pint jars, leaving 1/4-inch headspace. Wipe jar rims clean and seal with two-piece canning lids, tightening fingertip tight.
- Step 8: Process the jars in a prepared hot water canner for 10 minutes. After that, turn off the heat and let jars sit in the water for 5 more minutes to prevent siphoning.
- Step 9: Remove jars and place on a towel-lined surface, ensuring they do not touch. Let jars cool to room temperature and check seals. Store sealed jars in a cool, dry place away from light.
Tips & Variations
- Adjust sugar based on pear sweetness; less sugar will result in a milder jam.
- Add spices like cinnamon or ginger during cooking for a warm twist.
- If the pear pieces are too chunky after cooking, use a potato masher or immersion blender to achieve a smoother texture.
- Use ultra-ripe pears for more natural sweetness and better flavor concentration.
Storage
Store sealed jars in a cool, dry place out of direct sunlight for up to 18 months. Refrigerate any jars that did not seal properly and consume within 1 to 2 weeks. Once opened, keep the jam refrigerated and use within a month for best quality.
How to Serve
Serve this delicious recipe with your favorite sides.
FAQs
Can I use frozen pears to make this jam?
Yes, frozen pears can be used, though they may release more liquid. Thaw and drain excess juice before proceeding to avoid overly watery jam.
Do I need to add pectin for pear jam to set?
Pears are naturally low in pectin, but this recipe relies on cooking time and sugar to achieve a good set. If desired, you can add powdered pectin following package instructions for a firmer jam.
PrintPear Jam Recipe

This Pear Jam recipe transforms ripe pears into a sweet, spreadable preserve perfect for breakfast toast or desserts. With just pears, sugar, and lemon juice, it offers a simple yet delicious way to enjoy seasonal fruit year-round. The pears are macerated to release juices, then cooked down to the gel stage and canned for long-lasting freshness.
- Prep Time: 20 minutes plus 4 to 24 hours for maceration
- Cook Time: 15 minutes
- Total Time: 4 hours 35 minutes to 24 hours 35 minutes
- Yield: About 6 half-pint jars 1x
- Category: Preserves
- Method: Stovetop
- Cuisine: American
- Diet: Vegetarian
Ingredients
Jam Ingredients
- 4 lbs pears, peeled, cored, and diced
- 2 to 3 cups sugar, adjusted to taste
- 1/4 cup lemon juice, fresh or bottled
Instructions
- Prepare Pears: Peel, core, and dice the pears into small pieces to ensure even cooking and texture. If you prefer a smoother jam, you can mash the pieces later.
- Macerate Pears: In a large bowl, combine the diced pears with lemon juice and sugar. Toss well to coat all the pieces. Cover and refrigerate for 12 to 24 hours to allow the sugar to draw out the juices; if short on time, 4 hours will work.
- Cook Jam: Pour the macerated pears and syrup into a large heavy-bottomed saucepan or jam pot. Bring the mixture to a boil over high heat, then reduce to medium-high and cook for 10 to 15 minutes, stirring occasionally to prevent sticking.
- Check Gel Stage: Monitor the jam to thicken. Use a candy thermometer to ensure it reaches about 220°F (105°C) or perform a cold plate test to confirm it has set properly.
- Prepare Jars: Pour the hot jam into half-pint jars, leaving 1/4-inch headspace. Clean the rims of the jars with a damp cloth and seal with two-piece canning lids, tightened fingertip tight.
- Process Jars: Place jars in a prepared boiling water canner and process for 10 minutes. After timing out, turn off heat but let jars sit in hot water for 5 more minutes to prevent siphoning.
- Cool and Store: Remove jars carefully and place them upright on a kitchen towel-lined surface spaced apart. Allow to cool to room temperature. Check seals and refrigerate any jars that did not seal properly for use within 1 to 2 weeks. Store sealed jars in a cool, dark place for up to 18 months.
Notes
- You can adjust sugar quantity to taste, depending on the natural sweetness of pears.
- If chunks are too large after cooking, mash the jam gently for a more uniform consistency.
- Use clean, sterilized jars to ensure safe preservation and longer shelf life.
- Use fresh lemon juice when possible to aid in preservation and flavor brightness.
- Always check jar seals before storing to prevent spoilage.
Keywords: pear jam, homemade jam, fruit preserves, canning, pear preserves, easy jam recipe