DIY Exfoliating Sugar Scrub Bars: Quick and Easy Recipe
Introduction
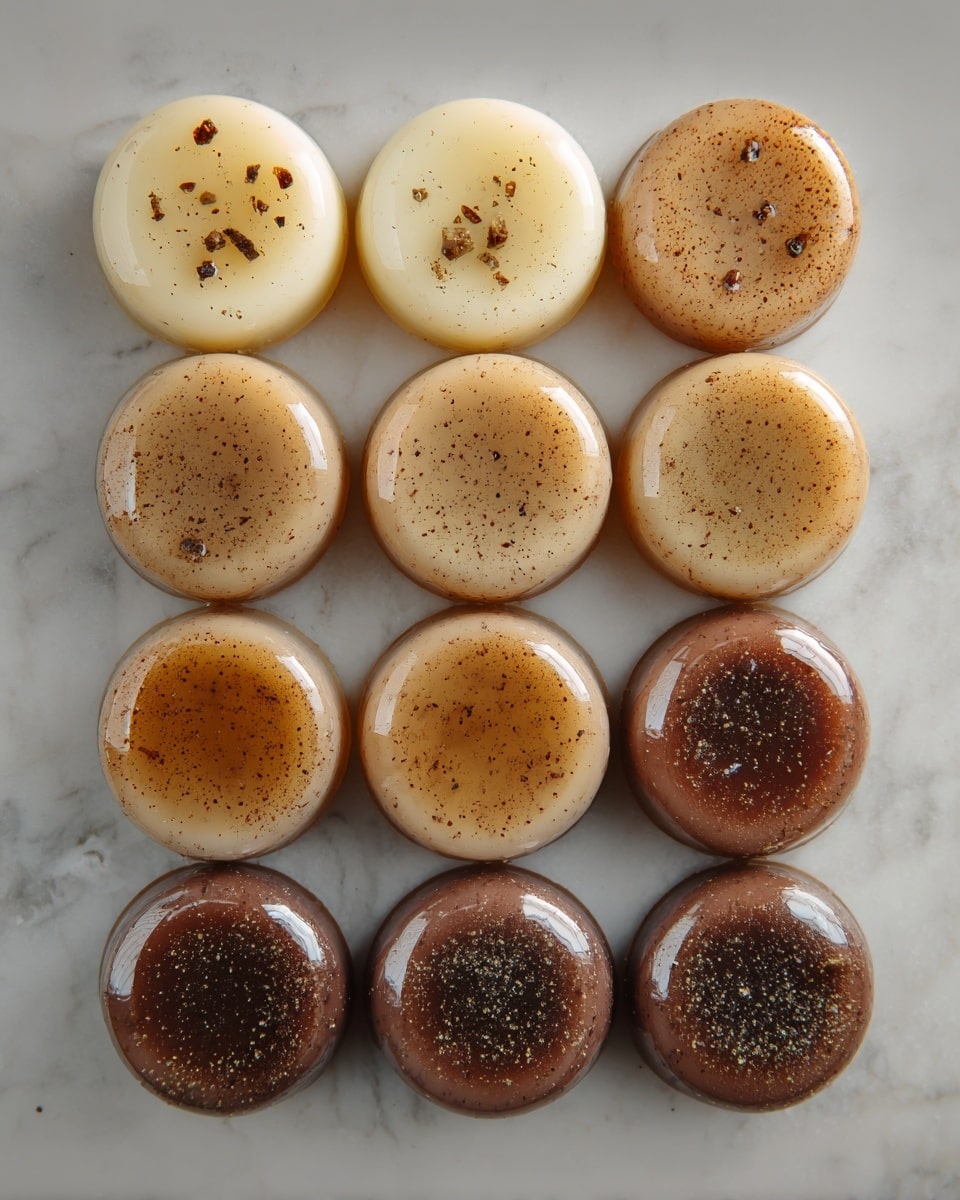
DIY exfoliating sugar scrub bars are an easy and mess-free way to pamper your skin at home. Combining gentle exfoliation with nourishing oils, these solid bars leave your skin silky smooth. Plus, they make lovely handmade gifts!
Ingredients
- 1 cup granulated sugar (brown sugar can be used for a softer scrub)
- ½ cup (about 120g) melt-and-pour soap base
- ¼ cup (about 60g) coconut oil or shea butter
- 10–15 drops essential oils (your favorite fragrance)
- Optional Add-ins:
- ½ teaspoon natural colorants (mica powder, beetroot powder, or turmeric)
- 1–2 tablespoons dried flowers (lavender, rose petals, or chamomile)
- 5–10 drops vitamin E oil
- 1–2 tablespoons ground oats or coffee grounds
- 1 tablespoon honey
Instructions
- Step 1: Cut the melt-and-pour soap base into small chunks. Melt in a microwave-safe bowl in 20-second intervals, stirring between, until fully melted. Alternatively, use a double boiler.
- Step 2: Stir the coconut oil or shea butter into the melted soap base until fully combined.
- Step 3: Add 10–15 drops of your chosen essential oil and stir well to distribute the fragrance evenly.
- Step 4: Gradually stir in 1 cup of sugar. The mixture will thicken to a gritty, sand-like texture. For a firmer scrub, add up to 1½ cups of sugar.
- Step 5: Incorporate any optional add-ins such as natural colorants, dried flowers, vitamin E oil, ground oats or coffee grounds, and honey. Mix gently to combine.
- Step 6: Pour the mixture into silicone molds (ice cube trays, cupcake molds, or specialty shapes). Allow to cool and harden completely before removing.
Tips & Variations
- Use brown sugar for a gentler scrub suitable for sensitive skin.
- Customize with your favorite essential oils for a personalized fragrance.
- Add dried flowers for extra charm and a calming effect while exfoliating.
- Replace coconut oil with shea butter for a richer, creamier texture.
- Store bars in a cool, dry place to prevent melting.
Storage
Keep your sugar scrub bars in an airtight container at room temperature away from heat and moisture. They typically last up to 3 months. To use, gently rub the bar on wet skin in circular motions, then rinse. If bars soften, store them in the fridge briefly to harden. Avoid prolonged water exposure to extend their life.
How to Serve
Serve this delicious recipe with your favorite sides.
FAQs
Can I use brown sugar instead of white sugar?
Yes, brown sugar works well and provides a softer exfoliation, which is ideal for sensitive or dry skin.
How long do homemade sugar scrub bars last?
When stored properly in a cool, dry place, they can last up to three months without losing effectiveness.
PrintDIY Exfoliating Sugar Scrub Bars: Quick and Easy Recipe

DIY Exfoliating Sugar Scrub Bars are simple, mess-free skincare bars that gently exfoliate, moisturize, and nourish your skin. Made with natural ingredients like sugar, melt-and-pour soap base, and coconut oil or shea butter, these customizable bars are perfect for personal pampering or handmade gifts. Enjoy the benefits of exfoliation combined with moisturizing and aromatic essential oils in a convenient solid bar.
- Prep Time: 10 minutes
- Cook Time: 10 minutes
- Total Time: 20 minutes
- Yield: Approximately 8–10 scrub bars depending on mold size 1x
- Category: Body Care
- Method: Melting
- Cuisine: Skincare
Ingredients
Main Ingredients
- 1 cup Granulated Sugar (can substitute with brown sugar for softer scrub)
- ½ cup (about 120g) Melt-and-Pour Soap Base
- ¼ cup (about 60g) Coconut Oil or Shea Butter
- 10–15 drops Essential Oils (your choice for fragrance and therapeutic benefits)
Optional Add-ins
- ½ teaspoon Natural Colorants (mica powder, beetroot powder, turmeric)
- 1–2 tablespoons Dried Flowers (lavender, rose petals, chamomile)
- 5–10 drops Vitamin E Oil
- 1–2 tablespoons Ground Oats or Coffee Grounds
- 1 tablespoon Honey
Instructions
- Melt the Soap Base: Cut the melt-and-pour soap base into small chunks. Heat in a microwave-safe bowl in 20-second intervals, stirring between, until completely melted. Alternatively, melt it using a double boiler to prevent overheating.
- Add Coconut Oil or Shea Butter: Stir the coconut oil or shea butter into the melted soap base until the mixture is smooth and fully combined, adding moisturizing properties.
- Incorporate Essential Oils: Add 10–15 drops of your preferred essential oil, stirring thoroughly to distribute fragrance and therapeutic benefits evenly throughout the mixture.
- Add the Sugar: Gradually stir in 1 cup of granulated sugar. The mixture will thicken and develop a gritty, sand-like texture ideal for exfoliation. For a firmer scrub, you can increase sugar up to 1½ cups.
- Customize with Add-ins: Stir in optional ingredients like ½ teaspoon natural colorants for a subtle hue, 1–2 tablespoons dried flowers for decoration and calming effects, 5–10 drops vitamin E oil to extend shelf life and enhance skin benefits, 1–2 tablespoons ground oats or coffee grounds for extra exfoliation, and 1 tablespoon honey for additional hydration and antibacterial properties.
- Mold the Bars: Pour the prepared scrub mixture evenly into silicone molds such as ice cube trays, cupcake molds, or specialty shapes. Allow the bars to cool and solidify at room temperature or in the refrigerator for faster setting.
- Remove and Store: Once set, carefully pop the bars out of the molds. Store them in an airtight container away from moisture and heat to maintain freshness and longevity.
Notes
- Use brown sugar as a gentler exfoliant if you have sensitive skin.
- Adjust sugar quantity to achieve desired scrub firmness and exfoliation level.
- Essential oils should be chosen based on skin type and personal preference; some oils may cause sensitivity.
- Store scrub bars in a cool, dry place to prevent melting or degradation.
- These scrub bars are for external use only; avoid contact with eyes and broken skin.
- Customize colors and scents to create unique personalized gifts.
- Make sure silicone molds are clean and dry before pouring the mixture to ensure easy removal.
Keywords: DIY sugar scrub bars, exfoliating scrub bars, homemade sugar scrub, natural skincare, body exfoliation, moisturizing scrub, melt and pour soap scrub