Easy Coffee Truffles Recipe
Introduction
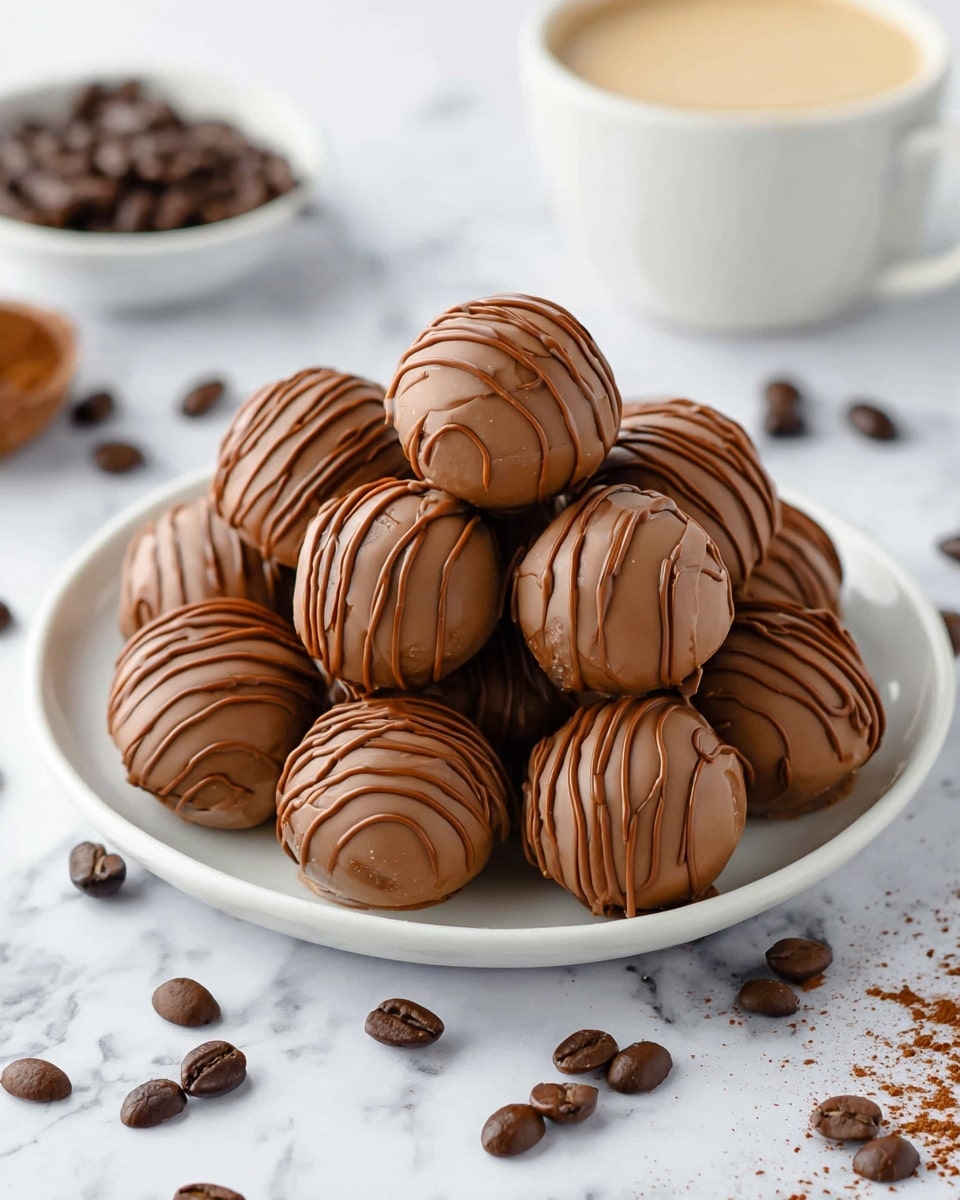
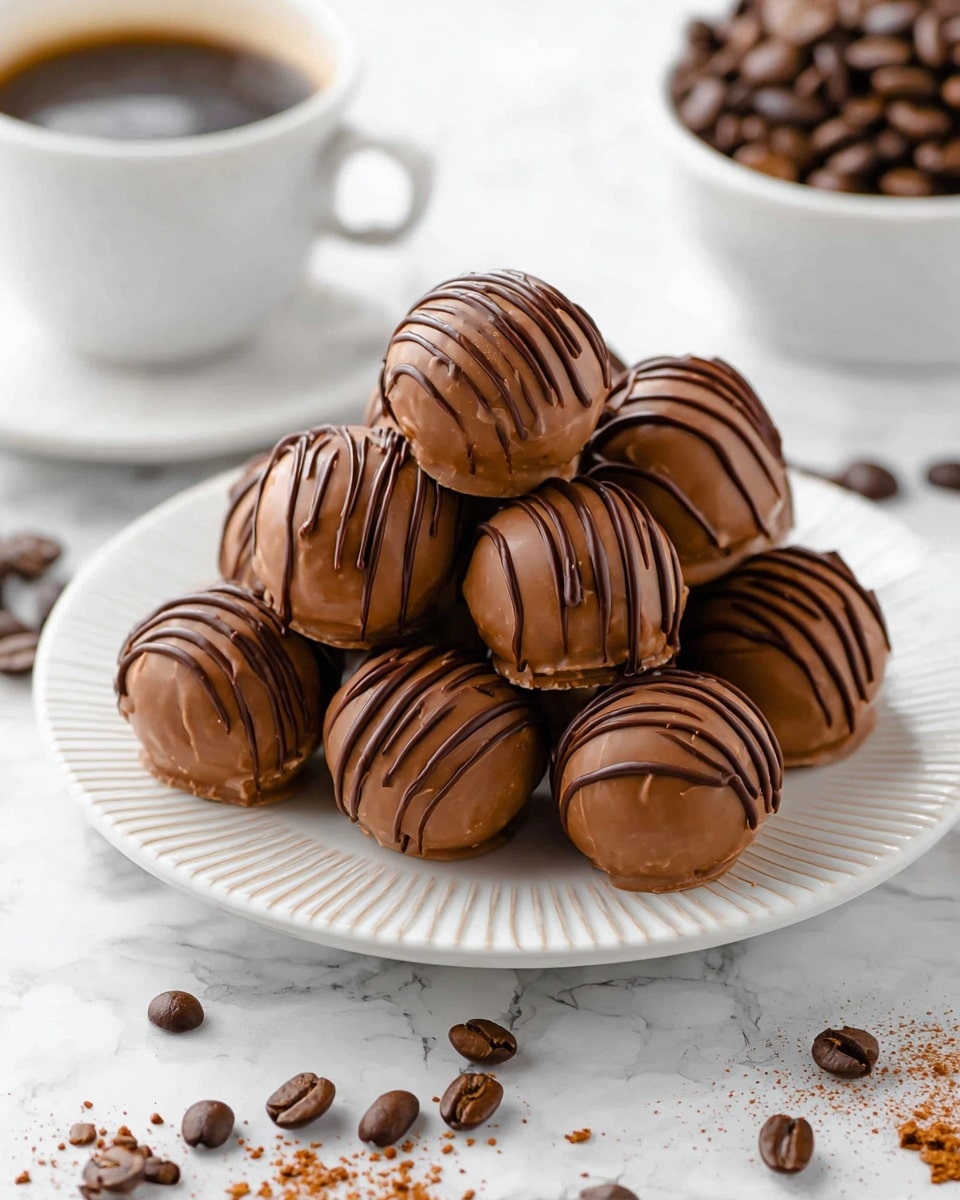
These easy coffee truffles combine rich dark chocolate with the bold flavor of instant coffee for a decadent homemade treat. Perfectly smooth and coated in silky milk chocolate, they’re an impressive yet simple dessert to make at home.
Ingredients
- 90 ml (⅓ cup + 2 tsp) thickened/whipping cream
- 200 g (7 oz) dark cooking chocolate (40% cocoa solids), finely chopped
- 1 tablespoon instant coffee granules
- 125 g (4.5 oz) milk cooking chocolate (for coating)
Instructions
- Step 1: Line a small flat dish (about 13 x 18 cm) with non-stick baking paper. Also line a baking tray with non-stick baking paper and set aside.
- Step 2: Heat the cream in a small saucepan over low heat until just below boiling point. Turn off the heat and add the chopped dark chocolate and instant coffee granules.
- Step 3: Stir the mixture until the chocolate has melted completely and the mixture is smooth. Pour it into the prepared dish.
- Step 4: Refrigerate for about 2 hours, or until firm enough to roll into balls.
- Step 5: Using a small ice cream scoop or teaspoon, scoop about 3 teaspoons of mixture and roll into compact balls. If too firm, let sit 5-10 minutes to soften.
- Step 6: Place each truffle on the lined baking tray and refrigerate for at least 30 minutes until firm.
- Step 7: To make the coating, melt the milk chocolate in a bowl over barely simmering water, stirring occasionally. Remove from heat when nearly melted and let cool 15 minutes.
- Step 8: Dip each chilled ball individually into the melted milk chocolate, using forks to coat completely. Remove excess chocolate by smoothing on the bowl’s edge and return to tray.
- Step 9: Refrigerate the coated truffles for 30 minutes or until the coating is crisp. Reheat and drizzle remaining chocolate over truffles if desired for decoration.
Tips & Variations
- Use full-fat cream (minimum 35% fat) for the creamiest texture and best flavor.
- Adjust coffee strength by varying the amount of instant coffee granules.
- If the chocolate coating firms up too quickly, gently reheat it to maintain a smooth dipping consistency.
- Keep your hands cool while rolling truffles by using an ice pack or frozen peas nearby.
- Try using higher cocoa content dark chocolate for a richer, more bitter flavor.
Storage
Store the truffles in an airtight container in the refrigerator for up to one week. If stacking layers, separate them with sheets of non-stick baking paper to prevent sticking. Bring to room temperature for a few minutes before serving to enhance flavor. Reheat leftover chocolate gently if needed for coating or drizzling.
How to Serve
Serve this delicious recipe with your favorite sides.
FAQs
Can I use espresso powder instead of instant coffee granules?
Regular instant coffee granules are recommended for this recipe as they balance well with the chocolate. Espresso powder is more concentrated and may result in a stronger, more bitter coffee flavor.
What if my chocolate mixture is too hard to roll into balls?
If the mixture is too firm, allow it to sit at room temperature for 5 to 10 minutes to soften slightly before rolling. Pressing firmly while rolling helps create compact, smooth truffles.
PrintEasy Coffee Truffles Recipe

Indulge in these easy coffee truffles that combine rich dark chocolate with the bold flavor of instant coffee. Smooth, creamy, and coated in silky milk chocolate, these bite-sized treats are perfect for coffee lovers looking for a homemade sweet with minimal fuss. Ready in just a few hours, these truffles offer a delightful balance of bitter coffee and sweet chocolate coated in a crisp chocolate shell.
- Prep Time: 15 minutes
- Cook Time: 10 minutes
- Total Time: 2 hours 25 minutes
- Yield: Approximately 18 truffles 1x
- Category: Dessert
- Method: Stovetop
- Cuisine: International
Ingredients
Truffle Mixture
- 90 ml (⅓ cup + 2 tsp) thickened/whipping cream (minimum 35% fat)
- 200 g (7 oz) dark cooking chocolate (40% cocoa solids), finely chopped
- 1 tablespoon instant coffee granules
Coating
- 125 g (4.5 oz) milk cooking chocolate
Instructions
- Prepare dish and tray: Line a small, flat dish (about 13 x 18 cm or 7 x 5 inches) with non-stick baking paper. Also line a baking tray with non-stick baking paper and set aside for later use.
- Heat cream: Add the thickened cream to a small saucepan and heat over low heat until it reaches just below boiling point. Remove from heat immediately to prevent scorching.
- Melt chocolate and coffee: Stir in the finely chopped dark chocolate and instant coffee granules into the hot cream until the chocolate fully melts and the mixture is smooth and glossy.
- Chill mixture: Pour the smooth chocolate-coffee mixture into the prepared dish. Transfer to the refrigerator and chill for about 2 hours or until the mixture is firm enough to scoop and roll.
- Scoop and shape truffles: Using a small ice cream scoop or teaspoon, scoop about 3 level teaspoons of the chilled mixture. Roll quickly between your palms to form compact small balls. If mixture feels too firm, let it sit for 5–10 minutes before rolling. Place each ball on the lined baking tray and refrigerate for at least 30 minutes until firm.
- Prepare coating chocolate: Break milk chocolate into even pieces and place in a heatproof bowl over a pan of barely simmering water, ensuring no water touches the chocolate. Stir occasionally until the chocolate almost melts. Remove the bowl from heat and let residual heat fully melt the chocolate. Allow to cool about 15 minutes to avoid melting the truffles during dipping.
- Coat truffles: Remove truffles from refrigerator. Working one at a time, dip each ball into the melted milk chocolate using two small forks to fully coat. Lift the truffle out, smooth off excess coating on the edge of the bowl, and return to the lined tray. If the chocolate firms up during the process, gently reheat before continuing.
- Set coating: Refrigerate the coated truffles for about 30 minutes or until the chocolate coating is crisp and set.
- Optional decoration and storage: Reheat any remaining chocolate to drizzle decoratively over the truffles if desired. Store truffles in an airtight container in the refrigerator for up to one week, separating layers with non-stick baking paper.
Notes
- Use full-fat thickened or whipping cream with at least 35% fat content for the creamiest texture and best flavor.
- Dark chocolate with 40% cocoa solids is recommended to balance bitterness and sweetness; higher cocoa percentages will make it more bitter.
- Use regular instant coffee granules, not espresso powder, to ensure the right coffee strength and flavor.
- Australian tablespoon measurement used here is 20 ml (4 teaspoons); adjust if using 15 ml tablespoons common in other countries.
- Scrunching the baking paper before lining the dish makes it easier to fit and remove the truffle mixture.
- Nutritional information is an estimate based on one coffee truffle.
- Store truffles separated by layers of baking paper to prevent sticking if stacking in the container.
Keywords: coffee truffles, easy chocolate truffles, homemade truffles, chocolate coffee dessert, no bake dessert