Homemade Bubble Gum Recipe
Introduction
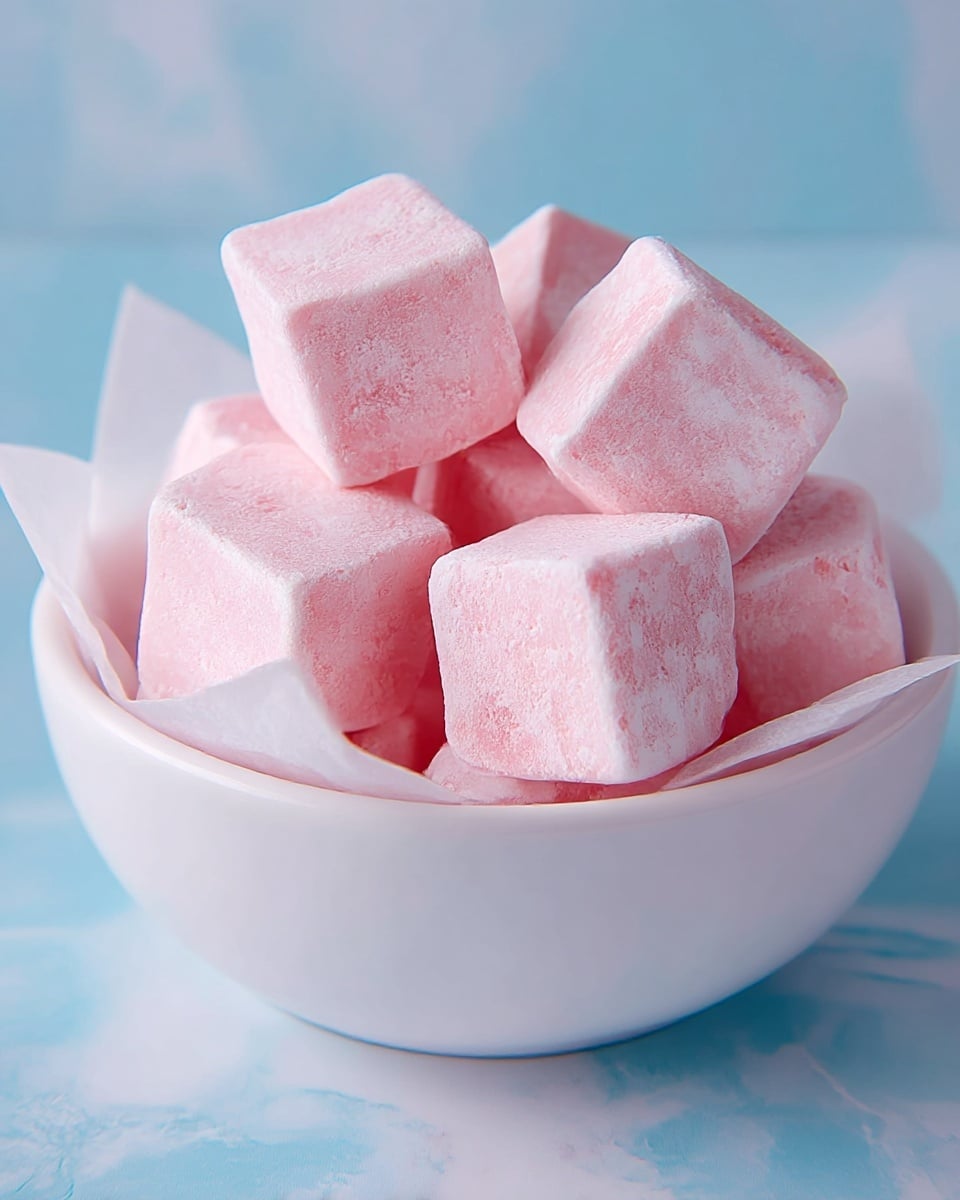
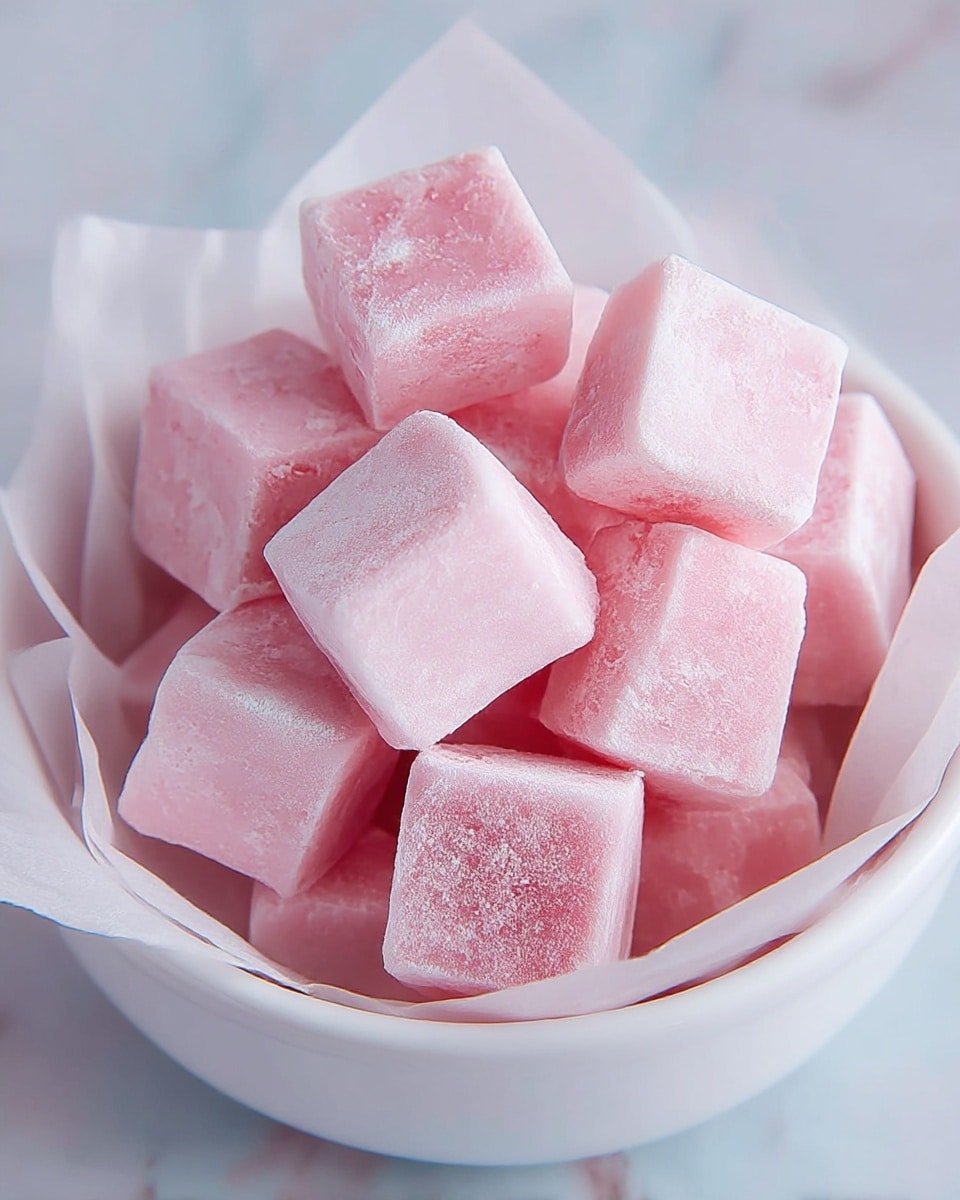
Making your own bubble gum at home is a fun and rewarding project that lets you customize flavors and colors. This strawberry bubble gum recipe yields soft, elastic pieces perfect for blowing bubbles and enjoying a sweet, fruity treat.
Ingredients
- 1/3 cup gum base
- 1/2 – 3/4 cup confectioner’s powdered sugar (Imperial Sugar)
- 1/2 tablespoon light corn syrup
- 1 teaspoon glycerin
- 1/4 teaspoon citric acid
- 6 drops strawberry flavoring
- 3 drops red food coloring
- Parchment paper, cut into 3-inch squares
Instructions
- Step 1: Place 1/3 cup gum base into a disposable microwave-safe container. Heat on high for 30 seconds or until softened but still pliable.
- Step 2: Immediately add 1/2 tablespoon light corn syrup and 1 teaspoon glycerin to the softened gum base. Stir gently until the mixture becomes glossy.
- Step 3: Gradually mix in 1/2 cup confectioners powdered sugar, stirring continuously. Add more sugar if the dough feels too sticky, aiming for a soft yet firm texture.
- Step 4: Add 6 drops strawberry flavoring and 3 drops red food coloring. Stir thoroughly until the color is even and the aroma is fragrant.
- Step 5: Sprinkle 1/4 teaspoon citric acid over the mixture and mix well to enhance the fruity taste.
- Step 6: Dust your hands with powdered sugar and knead the dough until smooth and elastic, resembling traditional bubble gum texture.
- Step 7: Flatten the dough to your preferred thickness. Cut into squares or strips and wrap each piece in parchment paper to prevent sticking and maintain freshness.
Tips & Variations
- Adjust the amount of powdered sugar to control the gum’s softness and chewiness—less sugar for softer gum, more for firmer.
- Try other fruit flavorings like grape or watermelon for variety.
- Use gel food coloring for more vibrant colors without altering the gum’s texture.
Storage
Store wrapped gum pieces in an airtight container at room temperature for up to two weeks. Keep away from heat and moisture to prevent stickiness. If the gum becomes too hard, knead it gently before use to restore softness.
How to Serve
Serve this delicious recipe with your favorite sides.
FAQs
Can I use a stovetop instead of a microwave to soften the gum base?
Yes, you can gently warm the gum base in a double boiler over low heat until pliable. Be careful not to overheat or melt it completely.
What if my gum is too sticky or too hard after mixing?
If it’s too sticky, add a little more powdered sugar gradually. If it becomes too hard, knead it with a small amount of glycerin or corn syrup to soften the texture.
PrintHomemade Bubble Gum Recipe

Create your own delightful homemade bubble gum with this easy and fun recipe using gum base, powdered sugar, and natural flavorings. Enjoy the nostalgic taste and chewy texture of classic bubble gum made fresh in your own kitchen.
- Prep Time: 10 minutes
- Cook Time: 1 minute
- Total Time: 11 minutes
- Yield: Approximately 12 pieces of bubble gum 1x
- Category: Confectionery
- Method: Microwaving
- Cuisine: American
- Diet: Halal
Ingredients
Main Ingredients
- 1/3 cup gum base
- 1/2 – 3/4 cup confectioner’s powdered sugar (Imperial Sugar)
- 1/2 tablespoon light corn syrup
- 1 teaspoon glycerin
- 1/4 teaspoon citric acid
- 6 drops strawberry flavoring
- 3 drops red food coloring
Additional Materials
- Parchment paper, cut into 3-inch squares
Instructions
- Prepare the Gum Base: Place 1/3 cup of gum base into a disposable microwave-safe container. Heat in the microwave on high for 30 seconds or until softened, making sure it becomes pliable without losing its structure.
- Mix the Ingredients: Immediately add 1/2 tablespoon of light corn syrup and 1 teaspoon of glycerin to the softened gum base. Stir gently until combined, resulting in a glossy, shiny mixture.
- Add Sweetness: Gradually incorporate 1/2 cup of confectioners powdered sugar into the mixture while stirring continuously. Add more sugar if the mixture feels sticky, aiming for a soft but form-holding dough.
- Infuse with Flavor: Add 6 drops of strawberry flavoring and 3 drops of red food coloring. Stir thoroughly until the color is evenly distributed and the aroma is sweet and inviting.
- Enhance the Acidity: Sprinkle 1/4 teaspoon of citric acid over the mixture and mix until evenly distributed, enhancing the fruity flavor of the gum.
- Shape the Dough: Dust your hands with confectioners sugar and knead the dough until smooth and pliable, with a soft, elastic texture reminiscent of traditional bubble gum.
- Cut and Store: Flatten the dough to your preferred thickness. Cut into squares or strips and wrap each piece with parchment paper to prevent sticking and preserve freshness.
Notes
- If the dough is too sticky, add small amounts of powdered sugar gradually until the desired consistency is reached.
- Store wrapped gum pieces in an airtight container at room temperature to maintain freshness.
- Experiment with different flavorings and food coloring drops for variety.
- Ensure to use disposable microwave-safe containers for safe heating of gum base.
- Citric acid enhances fruitiness but can be omitted if a less tangy flavor is preferred.
Keywords: homemade bubble gum, bubble gum recipe, DIY bubble gum, gum base recipe, confectionery dessert