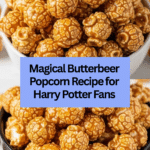
Magical Harry Potter Butterbeer Popcorn for Movie Nights Recipe
Introduction
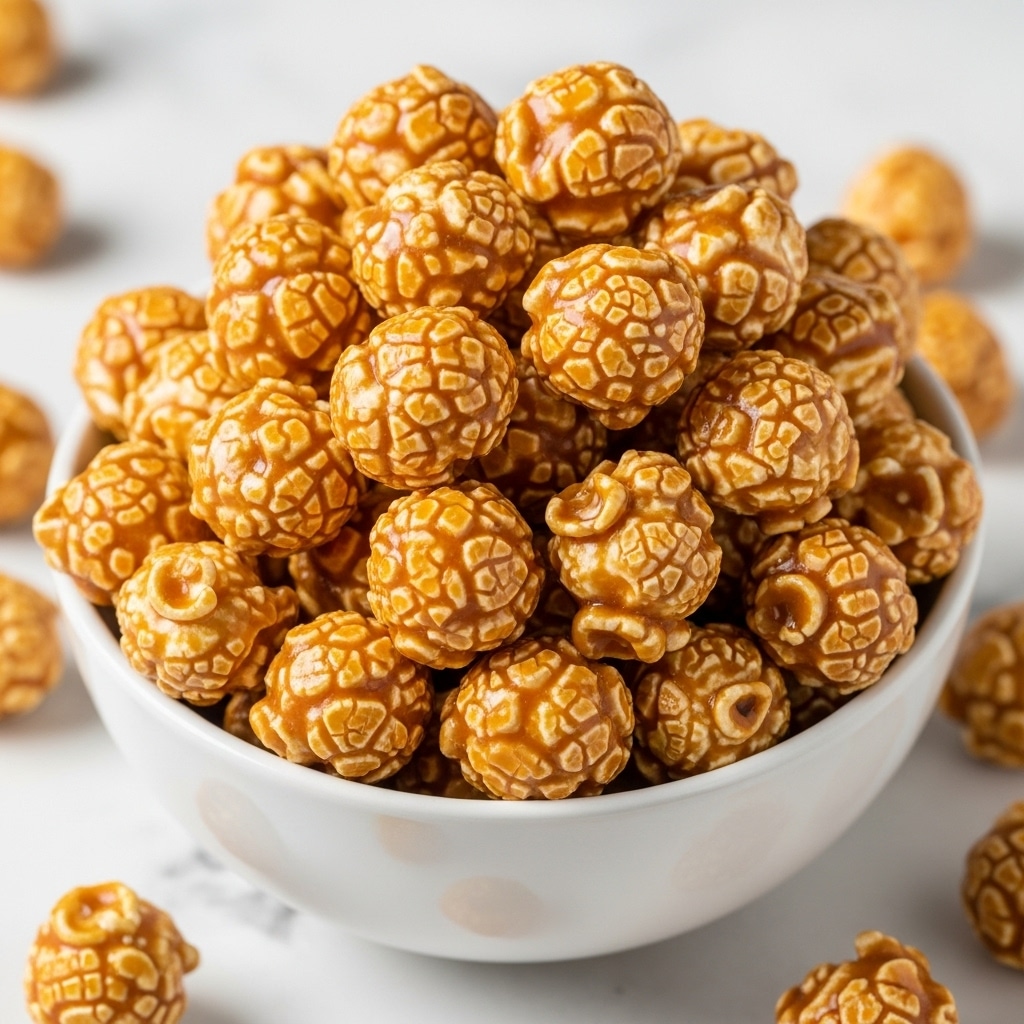
Bring a touch of magic to your movie nights with this delightful Harry Potter Butterbeer Popcorn. Sweet, buttery, and lightly caramelized, this popcorn treats the senses and makes every film feel like a journey to Hogwarts.
Ingredients
- 10–12 cups freshly popped popcorn (air-popped or microwaveable)
- 1 cup unsalted butter
- 1 cup dark brown sugar
- 1 cup butterscotch chips
- 1/2 teaspoon baking soda
- 1 teaspoon butter extract (or vanilla extract as substitute)
Instructions
- Step 1: In a medium saucepan, melt the unsalted butter over medium heat. Stir in the dark brown sugar and cook for about 2–3 minutes until the sugar fully dissolves and the mixture is smooth.
- Step 2: Remove the pan from heat. Add the butterscotch chips, stirring until they melt completely and the sauce is glossy. Sprinkle in the baking soda and stir well to create a slightly foamy texture.
- Step 3: Place the freshly popped popcorn in a large bowl. Drizzle the warm sauce evenly over the popcorn and gently toss to coat all pieces without crushing them.
- Step 4: Preheat the oven to 250°F (120°C). Spread the coated popcorn on a baking sheet in a single layer. Bake for 30 minutes, stirring every 10 minutes to ensure even crispness.
- Step 5: Remove the popcorn from the oven and allow it to cool completely before serving. This helps lock in the crunch.
Tips & Variations
- For a vanilla twist, use vanilla extract instead of butter extract without losing the rich flavor.
- Try adding a pinch of sea salt after baking for a sweet-and-salty balance.
- Use kettle corn as your base popcorn for an extra layer of sweetness.
Storage
Store the cooled Butterbeer Popcorn in an airtight container at room temperature for up to 3 days. To refresh crunchiness, spread the popcorn on a baking sheet and warm it in a 250°F (120°C) oven for 5–7 minutes before serving.
How to Serve
Serve this delicious recipe with your favorite sides.
FAQs
Can I use regular sugar instead of brown sugar?
Brown sugar adds moisture and a deeper caramel flavor. Using regular white sugar may result in a less rich and slightly dryer sauce.
Is it okay to skip the baking soda?
The baking soda lightens and gives the sauce a subtle foamy texture, but you can omit it if you prefer a denser caramel coating.
PrintMagical Harry Potter Butterbeer Popcorn for Movie Nights Recipe

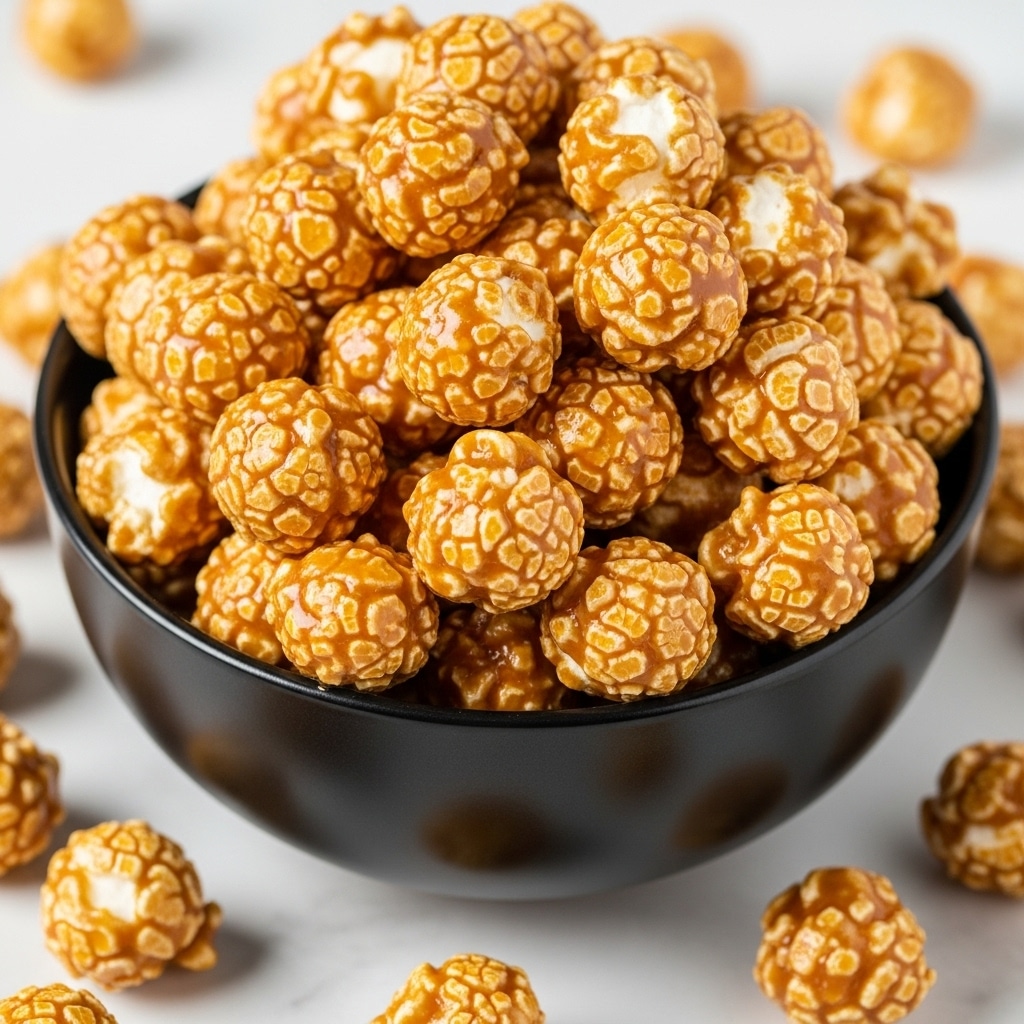
Magical Harry Potter Butterbeer Popcorn is a delightful treat that combines the crispiness of freshly popped popcorn with a rich, buttery butterscotch sauce inspired by the beloved wizarding world. Perfect for movie nights and fans of the Harry Potter series, this recipe features a luscious caramelized coating that bakes into crunchy, sweet perfection.
- Prep Time: 10 minutes
- Cook Time: 35 minutes
- Total Time: 45 minutes
- Yield: 10–12 cups 1x
- Category: Snack
- Method: Baking
- Cuisine: American
Ingredients
Popcorn
- 10–12 cups freshly popped popcorn (air-popped or microwaveable)
Sauce
- 1 cup unsalted butter
- 1 cup dark brown sugar
- 1 cup butterscotch chips
- 1/2 teaspoon baking soda
- 1 teaspoon butter extract (or vanilla extract as substitute)
Instructions
- Prepare the Sauce: In a medium saucepan, melt 1 cup of unsalted butter over medium heat. Stir in 1 cup of dark brown sugar until dissolved, approximately 2-3 minutes, creating a smooth and rich base for the sauce.
- Add Butterscotch and Baking Soda: Remove the saucepan from heat. Stir in 1 cup of butterscotch chips until they are fully melted and integrated into the sauce. Sprinkle in 1/2 teaspoon of baking soda, stirring well; this causes the sauce to lighten and develop a slightly foamy texture that enhances the coating.
- Coat Popcorn: Place 10-12 cups of freshly popped popcorn into a large mixing bowl. Drizzle the warm butterscotch sauce evenly over the popcorn, then gently toss to coat each piece thoroughly without crushing the popcorn kernels.
- Bake for Crunchiness: Preheat the oven to 250°F (120°C). Spread the coated popcorn evenly on a baking sheet lined with parchment paper or a silicone baking mat. Bake for 30 minutes, stirring every 10 minutes to ensure even coating and to develop a crunchy texture throughout.
- Cool and Serve: Remove the popcorn from the oven and allow it to cool completely, which helps lock in the crunch. Once cooled, transfer to an airtight container to maintain freshness or serve immediately for the best experience.
Notes
- Use air-popped or microwave popcorn to keep the recipe healthier and crisper.
- Stirring the popcorn during baking is crucial for even coating and preventing burning.
- The baking soda reaction in the sauce creates a lighter, more airy texture for the coating.
- You can substitute vanilla extract for butter extract if unavailable; the flavor will be subtly different but still delicious.
- Store leftovers in an airtight container at room temperature for up to a week.
Keywords: Butterbeer Popcorn, Harry Potter Snack, Butterscotch Popcorn, Movie Night Snack, Sweet Popcorn