Oreo Sushi Recipe
Oreo Sushi is an incredibly fun and imaginative twist on the classic Oreo cookie, turning your favorite sweet treat into playful sushi-style rolls. With just Oreos and a splash of milk, you can create adorable bite-sized dessert pieces that combine crunchy cookie crumbs with creamy filling, all rolled up to resemble sushi. This dessert is not only delightfully delicious but also a fantastic way to surprise your friends and family with something unexpected yet utterly satisfying. Whether you’re a longtime Oreo fan or simply love inventive desserts, Oreo Sushi promises a sweet adventure that’s easy to make and hard to forget.
Ingredients You’ll Need
Let’s talk ingredients! The magic of Oreo Sushi comes from its simplicity—each component plays a vital role in flavor, texture, and overall fun. From the crunchy Oreo cookies to the creamy filling and just a touch of milk to bring it all together, every element is essential without overwhelming the recipe.
- Oreos: The star of the show, providing that iconic chocolate and cream combination that makes this dessert shine.
- Milk (any variety): Just a splash to soften the crushed Oreos and bind the mixture into a rollable dough-like paste.
How to Make Oreo Sushi
Step 1: Separate the Oreos
Carefully twist each Oreo cookie apart so you have one pile of just the creamy filling and one with the chocolate cookies. Putting the cream filling in a separate bowl allows you to use it later for spreading, while the cookies will become the base of your sushi roll. This step is easy but crucial for creating the layers in your Oreo Sushi.
Step 2: Prepare the Cookie Base
Place the cookie halves into a zip-top bag and push out the air before sealing. Grab a rolling pin and crush the cookies into fine crumbs—this will give you a sandy texture perfect for forming a dough-like paste. Transfer these crumbs into a bowl, then add milk little by little, mixing until the mixture becomes thick and pliable, just like a cookie dough ready to be shaped.
Step 3: Assemble the Roll
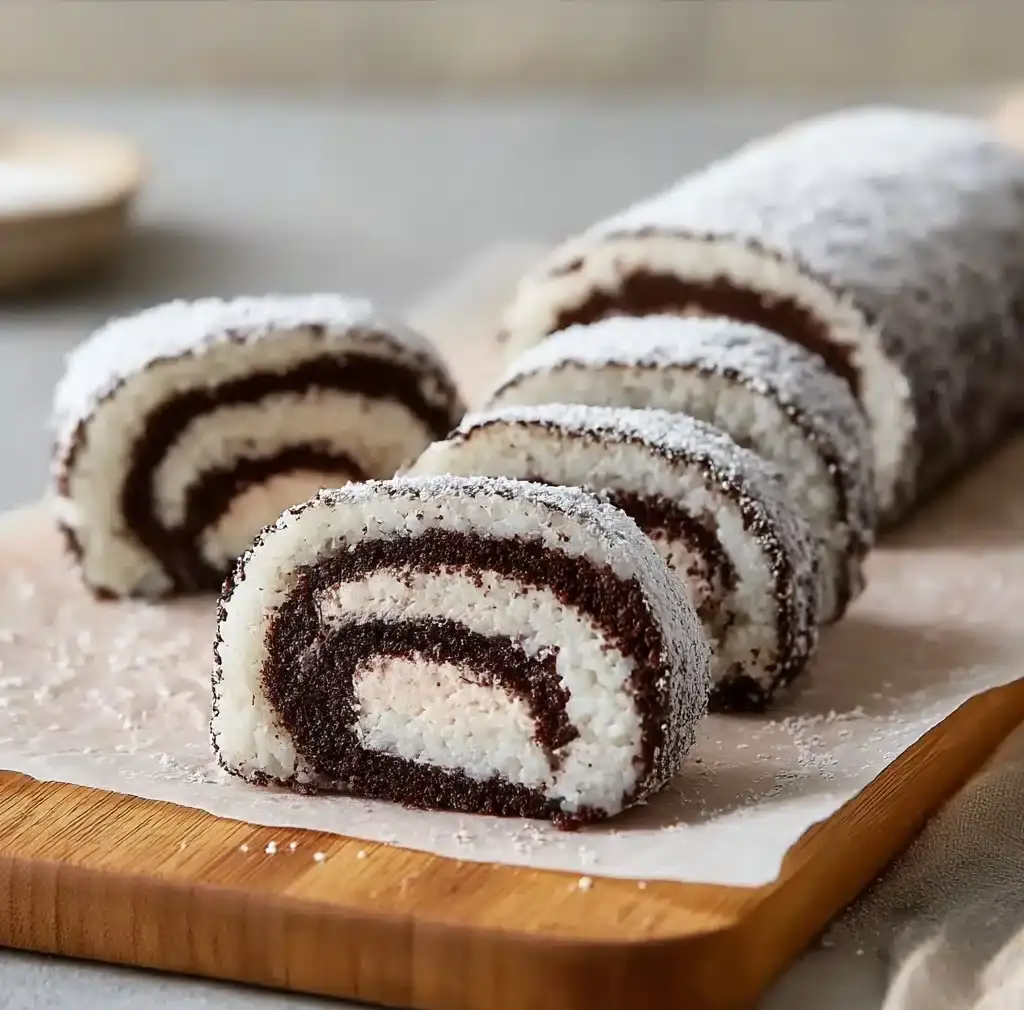
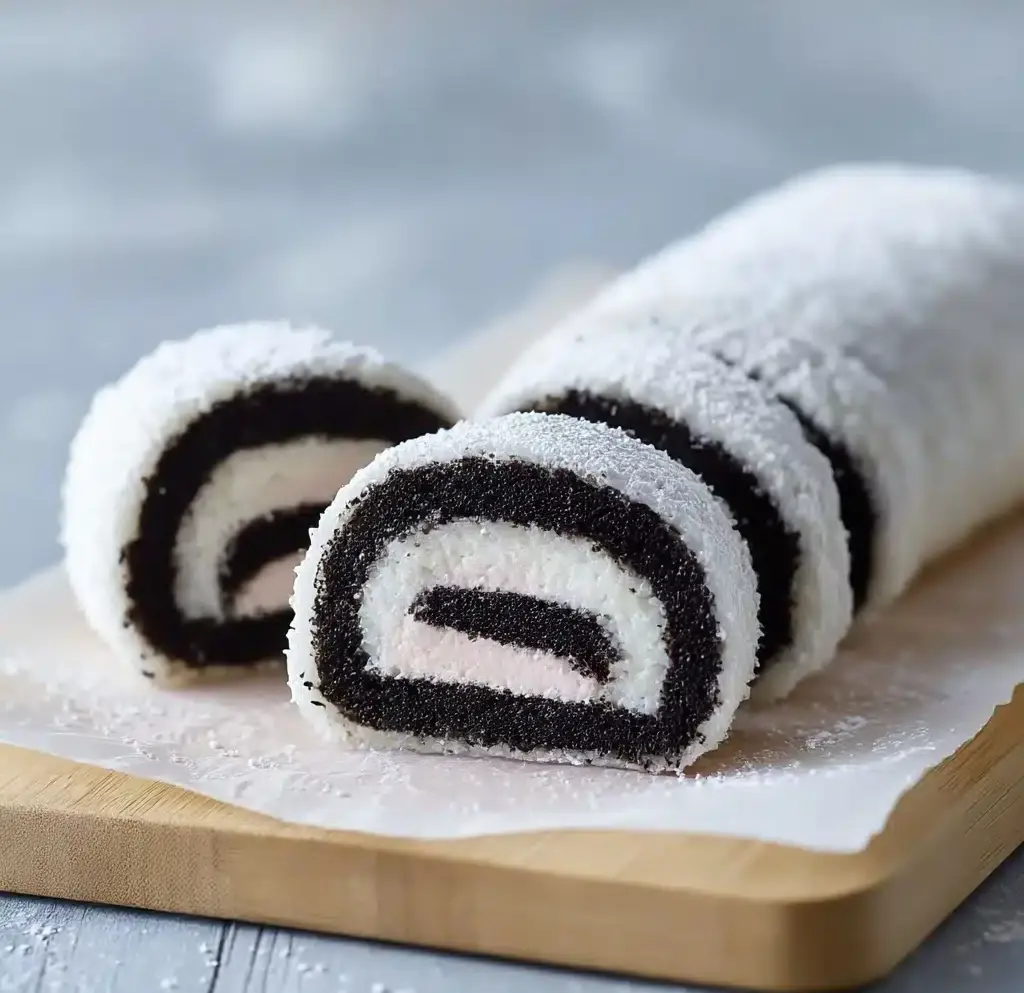
Lay a sheet of plastic wrap on a flat surface, and spread the cookie crumb paste evenly over it in a rectangular shape. Once the base layer looks even, spread the reserved cream filling evenly on top. This contrast of dark cookie and white cream mimics the look of sushi rice and filling, making the Oreo Sushi not only tasty but also visually fun.
Step 4: Roll and Slice
Using the plastic wrap to help, carefully roll the layered mixture into a tight log. The plastic wrap keeps everything together and helps form a neat shape. Once rolled, slice the log into bite-sized pieces that look just like sushi rolls. Clean, precise cuts make your Oreo Sushi look irresistible and ready to impress.
Step 5: Serve
Arrange your Oreo Sushi slices on a beautiful plate. This is your chance to get creative—serve them with chocolate sauce, whipped cream, or a sweet frosting dip. These additions elevate the flavor and add to the playful sushi experience, making every bite a surprise that everyone will love.
How to Serve Oreo Sushi
Garnishes
Garnishes can turn your Oreo Sushi into a mini masterpiece. Sprinkling crushed nuts, colorful sprinkles, or drizzled chocolate over the top adds visual appeal and contrasting flavors. Fresh berries or edible gold dust can make your dessert shine even brighter, perfect for party presentations or special occasions.
Side Dishes
While Oreo Sushi is delicious on its own, pairing it with a light fruit salad or a scoop of vanilla ice cream balances the sweet richness and adds refreshing notes to your dessert spread. These companions create a memorable tasting experience that feels both indulgent and well-rounded.
Creative Ways to Present
Think outside the box when displaying your Oreo Sushi! Presentation ideas like serving pieces on rectangular sushi trays, arranging them on bamboo mats, or even placing them in mini bento boxes make this dessert conversational and fun. Such attention to detail makes your Oreo Sushi more than just a treat; it becomes an event.
Make Ahead and Storage
Storing Leftovers
If you happen to have leftovers (which might be rare), wrap your Oreo Sushi tightly in plastic wrap or place in an airtight container and keep them refrigerated. They will stay fresh for up to 3 days, maintaining their texture and flavor so you can enjoy your sweet sushi later.
Freezing
Though Oreo Sushi is best enjoyed fresh, you can freeze the rolls if needed. Wrap them tightly in plastic wrap and place them in a freezer-safe container. When you’re ready to eat, thaw in the refrigerator for a few hours. Be mindful that freezing might slightly change the texture, but the taste remains delightful.
Reheating
Reheating Oreo Sushi isn’t necessary since it’s a cold dessert, but if you prefer it at room temperature, simply remove from the fridge and let it sit out for 10-15 minutes before serving. This allows the flavors to mellow and the cream filling to soften slightly, enhancing the eating experience.
FAQs
Can I use different types of Oreos for this recipe?
Absolutely! Oreo Sushi works well with any Oreo variety, whether classic, double stuffed, or flavored. Each one will bring a little unique twist to the flavor profile, so feel free to experiment.
Is there a way to make Oreo Sushi without milk?
You can substitute milk with a non-dairy alternative like almond or soy milk to accommodate dietary needs. Just add it gradually to achieve the right dough-like texture for rolling.
Can I add other fillings to Oreo Sushi?
Definitely! While the original cream filling works perfectly, you can try adding peanut butter, cream cheese frosting, or even fruit preserves to create new flavor combinations and textures.
How long does it take to make Oreo Sushi?
The whole process is quite quick and simple, typically taking around 15-20 minutes from start to finish—perfect for a last-minute fun dessert project.
Is Oreo Sushi suitable for kids to help make?
Yes! This recipe is wonderfully kid-friendly as it requires no cooking and involves easy-to-handle steps like crushing cookies and rolling. It’s a great way to get children involved in the kitchen and spark their creativity.
Final Thoughts
If you’re looking to surprise your taste buds and wow your friends with a clever dessert, Oreo Sushi is an absolute must-try. It’s playful, delicious, and endlessly adaptable—plus, it’s made from just a few humble ingredients. I can’t wait for you to roll up this sweet treat and discover how simple yet delightful dessert can be with a little imagination. Go ahead and give Oreo Sushi a whirl; your dessert table will never be the same!
PrintOreo Sushi Recipe

Oreo Sushi is a fun and creative dessert that transforms classic Oreo cookies into sushi-like rolls. Combining crushed Oreo cookies with milk to create a dough-like base and spreading the cream filling inside, these bite-sized pieces offer a delightful mix of creamy and crunchy textures. Quick and easy to make with just two main ingredients, Oreo Sushi is perfect for parties, kids’ activities, or a unique sweet treat that brings a playful twist to a beloved snack.
- Prep Time: 10 minutes
- Cook Time: 0 minutes
- Total Time: 10 minutes
- Yield: 12 servings 1x
- Category: Dessert
- Method: No-Bake, Rolling
- Cuisine: Fusion, American
- Diet: Vegetarian
Ingredients
Oreo Sushi Ingredients
- 24 Oreo cookies (standard size)
- 2–3 tablespoons milk (any variety)
Instructions
- Separate the Oreos: Twist each Oreo cookie gently to separate the chocolate cookies from the cream filling. Place all the cream fillings into a bowl and set aside. Put the cookies into a zip-top bag.
- Prepare the Cookie Base: Remove excess air from the zip-top bag and seal it tightly. Using a rolling pin, crush the Oreo cookies inside the bag until you achieve fine crumbs. Transfer the cookie crumbs to a mixing bowl and gradually add milk, stirring continuously, until a thick, malleable dough-like paste forms that can hold shape when rolled.
- Assemble the Roll: Lay a large sheet of plastic wrap on a flat surface. Spread the cookie dough evenly over the plastic wrap into a rectangular layer about 1/4 inch thick. Spread the reserved Oreo cream filling evenly on top of the cookie layer, covering all edges.
- Roll and Slice: Using the plastic wrap to guide and help, roll the layered mixture tightly into a log shape, similar to making sushi rolls. Chill the roll in the refrigerator for 15-20 minutes to firm up slightly. Once chilled, unwrap the log and slice it into bite-sized pieces.
- Serve: Arrange the Oreo sushi pieces on a serving plate. For added fun, serve with dipping sauces like chocolate syrup, whipped cream, or vanilla frosting to complement the flavors.
Notes
- Milk quantity may vary slightly depending on the desired dough consistency—add gradually to avoid a runny mixture.
- Use plastic wrap generously to avoid sticking when rolling and slicing the Oreo sushi.
- For a vegan version, use dairy-free milk and ensure Oreos are vegan-friendly in your region.
- Additional toppings like sprinkles or crushed nuts can be sprinkled on before rolling for extra texture.
- Store any leftovers in an airtight container in the refrigerator for up to 2 days.
Nutrition
- Serving Size: 1 piece (about 25g)
- Calories: 326
- Sugar: 28.9g
- Sodium: 289mg
- Fat: 14g
- Saturated Fat: 4g
- Unsaturated Fat: 10g
- Trans Fat: 0g
- Carbohydrates: 50.9g
- Fiber: 2g
- Protein: 2.6g
- Cholesterol: 0.01mg
Keywords: Oreo sushi, Oreo dessert, no-bake dessert, Oreo rolls, creative dessert, sushi-inspired sweets