Pistachio Wedding Cookies: The Perfect Treat for Your Big Day Recipe
Introduction
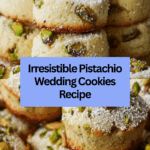
Pistachio Wedding Cookies are tender, buttery treats with a delightful nutty flavor, perfect for celebrating special occasions or enjoying as an everyday indulgence. Their melt-in-your-mouth texture and subtle almond notes make them a favorite at weddings and beyond.

Ingredients
- 1 cup (2 sticks) unsalted butter, softened
- ½ cup granulated sugar
- ¼ cup powdered sugar
- 1 teaspoon vanilla extract
- ½ teaspoon almond extract
- 2 ¼ cups all-purpose flour
- ½ teaspoon baking powder
- ¼ teaspoon salt
- 1 cup shelled, unsalted pistachios, finely ground
- Powdered sugar, for dusting
Instructions
- Step 1: In a large bowl or stand mixer, cream the softened butter with granulated sugar and powdered sugar until the mixture is light and fluffy, about 3-5 minutes. Scrape down the sides to mix evenly.
- Step 2: Add the vanilla and almond extracts to the butter mixture and mix until just combined.
- Step 3: In a separate bowl, whisk together the all-purpose flour, baking powder, and salt to distribute the dry ingredients evenly.
- Step 4: Grind the pistachios finely using a food processor, being careful not to over-process and turn them into butter.
- Step 5: Gradually add the dry ingredients to the wet ingredients on low speed, mixing until just combined. Then, fold in the ground pistachios gently until incorporated. The dough should be soft and slightly crumbly.
- Step 6: Wrap the dough in plastic wrap and chill in the refrigerator for at least 30 minutes to 2 hours. This helps the cookies stay tender and manageable.
- Step 7: Preheat the oven to 350°F (175°C) and line baking sheets with parchment paper.
- Step 8: Roll the chilled dough into 1-inch balls using your hands or a small cookie scoop. Place them on the prepared baking sheets about 1 inch apart.
- Step 9: Bake for 10-12 minutes until the edges turn lightly golden but the centers remain pale.
- Step 10: Let the cookies cool on the baking sheets for a few minutes before transferring them to a wire rack to cool completely. Dust with powdered sugar before serving.
Tips & Variations
- For a more intense pistachio flavor, toast the pistachios lightly before grinding.
- Omit almond extract if preferred, or replace with an equal amount of vanilla extract.
- Use a small cookie scoop for uniform cookies that bake evenly.
- Chilling the dough longer results in a firmer dough that’s easier to handle and prevents spreading.
Storage
Store the cooled cookies in an airtight container at room temperature for up to one week. For longer storage, freeze them in a sealed container for up to three months. To enjoy after freezing, thaw at room temperature and dust with powdered sugar before serving.
How to Serve
Serve this delicious recipe with your favorite sides.
FAQs
Can I substitute pistachios with other nuts?
Yes, you can replace pistachios with finely ground almonds or walnuts for a different flavor, though the texture and nutty taste will vary slightly.
Why do the cookies need to be chilled before baking?
Chilling the dough helps the gluten relax, resulting in tender cookies. It also prevents excessive spreading during baking and makes the dough easier to handle.
PrintPistachio Wedding Cookies: The Perfect Treat for Your Big Day Recipe
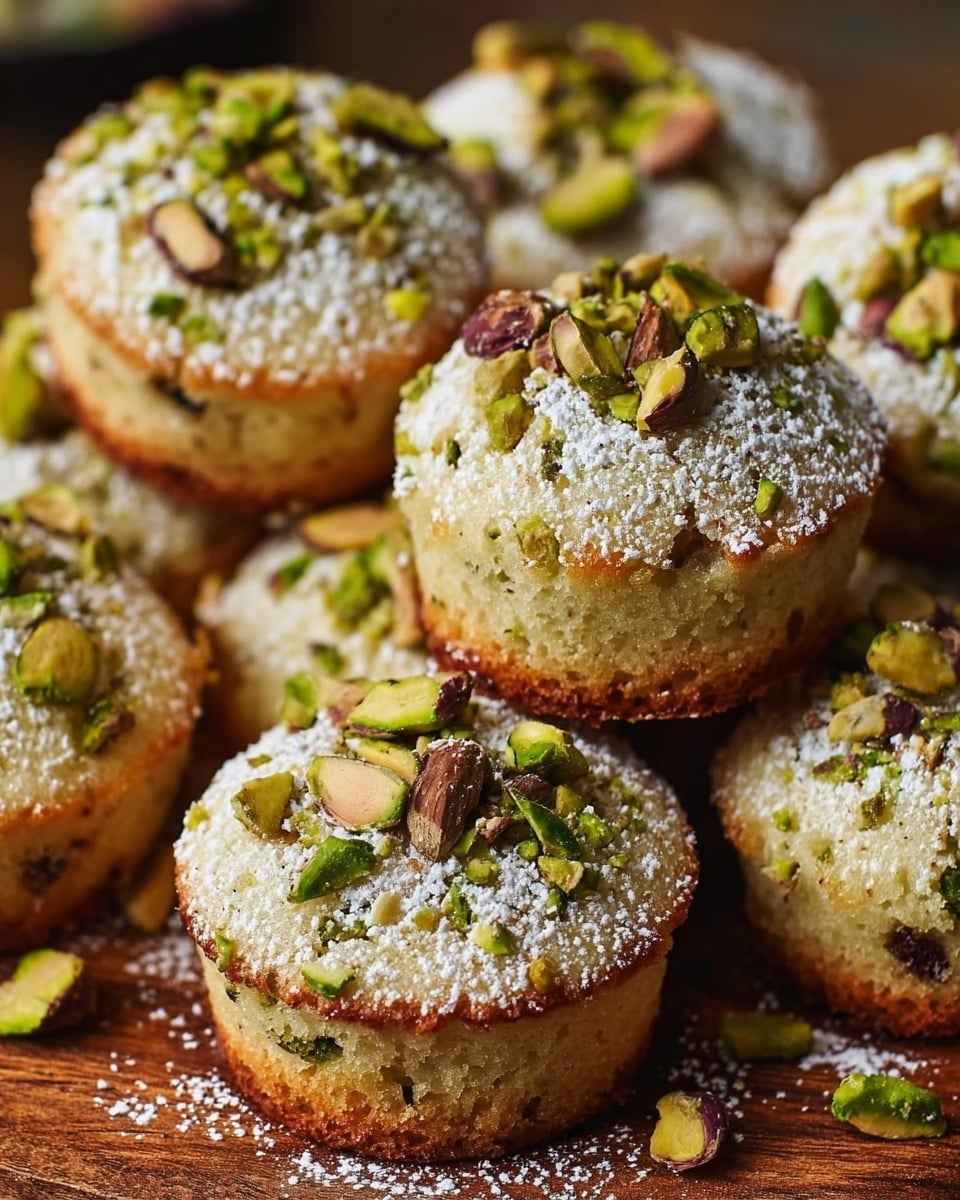
Pistachio Wedding Cookies are delicate, melt-in-your-mouth treats perfect for special occasions like weddings. These buttery, tender cookies are infused with vanilla and almond extracts, finely ground pistachios, and dusted with powdered sugar for a sweet finish. Their soft texture and nutty flavor make them an irresistible addition to your cookie platter or celebration dessert table.
- Prep Time: 15 minutes
- Cook Time: 12 minutes
- Total Time: 1 hour 30 minutes (including chilling)
- Yield: About 30 cookies 1x
- Category: Dessert
- Method: Baking
- Cuisine: American
Ingredients
Wet Ingredients
- 1 cup (2 sticks) unsalted butter, softened
- ½ cup granulated sugar
- ¼ cup powdered sugar
- 1 teaspoon vanilla extract
- ½ teaspoon almond extract
Dry Ingredients
- 2 ¼ cups all-purpose flour
- ½ teaspoon baking powder
- ¼ teaspoon salt
- 1 cup shelled, unsalted pistachios, finely ground
- Powdered sugar, for dusting
Instructions
- Cream the Butter and Sugars: In a large bowl or stand mixer fitted with the paddle attachment, cream together the softened butter, granulated sugar, and powdered sugar until the mixture is light, fluffy, and pale, about 3-5 minutes. Scrape down the sides occasionally for even mixing.
- Add the Extracts: Mix in the vanilla and almond extracts until just combined to enhance the cookie’s flavor.
- Combine Dry Ingredients: In a separate bowl, whisk together the all-purpose flour, baking powder, and salt to evenly distribute the leavening agents and salt.
- Grind the Pistachios: Finely grind the shelled, unsalted pistachios in a food processor, pulsing carefully to avoid creating pistachio butter. The ground nuts should retain a little texture.
- Incorporate Dry Ingredients and Pistachios: Gradually add the dry flour mixture to the creamed wet ingredients using low speed, mixing until just combined. Then fold in the ground pistachios gently until fully incorporated. The dough should be soft and slightly crumbly.
- Chill the Dough: Wrap the dough tightly in plastic wrap and refrigerate for 30 minutes up to 2 hours to relax the gluten and prevent spreading during baking.
- Preheat Oven and Prepare Baking Sheets: Preheat the oven to 350°F (175°C) and line baking sheets with parchment paper for non-stick baking and easy cleanup.
- Shape the Cookies: Remove chilled dough and roll into 1-inch balls using a cookie scoop or by hand. Space the balls about 1 inch apart on the baking sheets to allow room for slight spreading.
- Bake the Cookies: Bake for 10-12 minutes until edges are lightly golden but centers remain pale. Avoid overbaking to maintain tender texture.
- Cool the Cookies: Let the cookies cool on the baking sheets for a few minutes before transferring to a wire rack to cool completely. Dust with powdered sugar before serving if desired.
Notes
- Ensure butter is softened but not melted for proper creaming with sugars.
- The almond extract enhances pistachio flavor but can be substituted with extra vanilla or omitted.
- Do not over-process pistachios to avoid getting pistachio butter instead of ground nuts.
- Chilling the dough is crucial for texture and controlling cookie spread during baking.
- Use parchment paper to prevent sticking and simplify cleanup.
- Check cookies at 10 minutes and bake slightly longer if needed to avoid dry, crumbly cookies.
Keywords: Pistachio cookies, wedding cookies, nutty cookies, buttery cookies, holiday cookies, almond extract cookies