Red Velvet Crinkle Cookies Recipe
Introduction
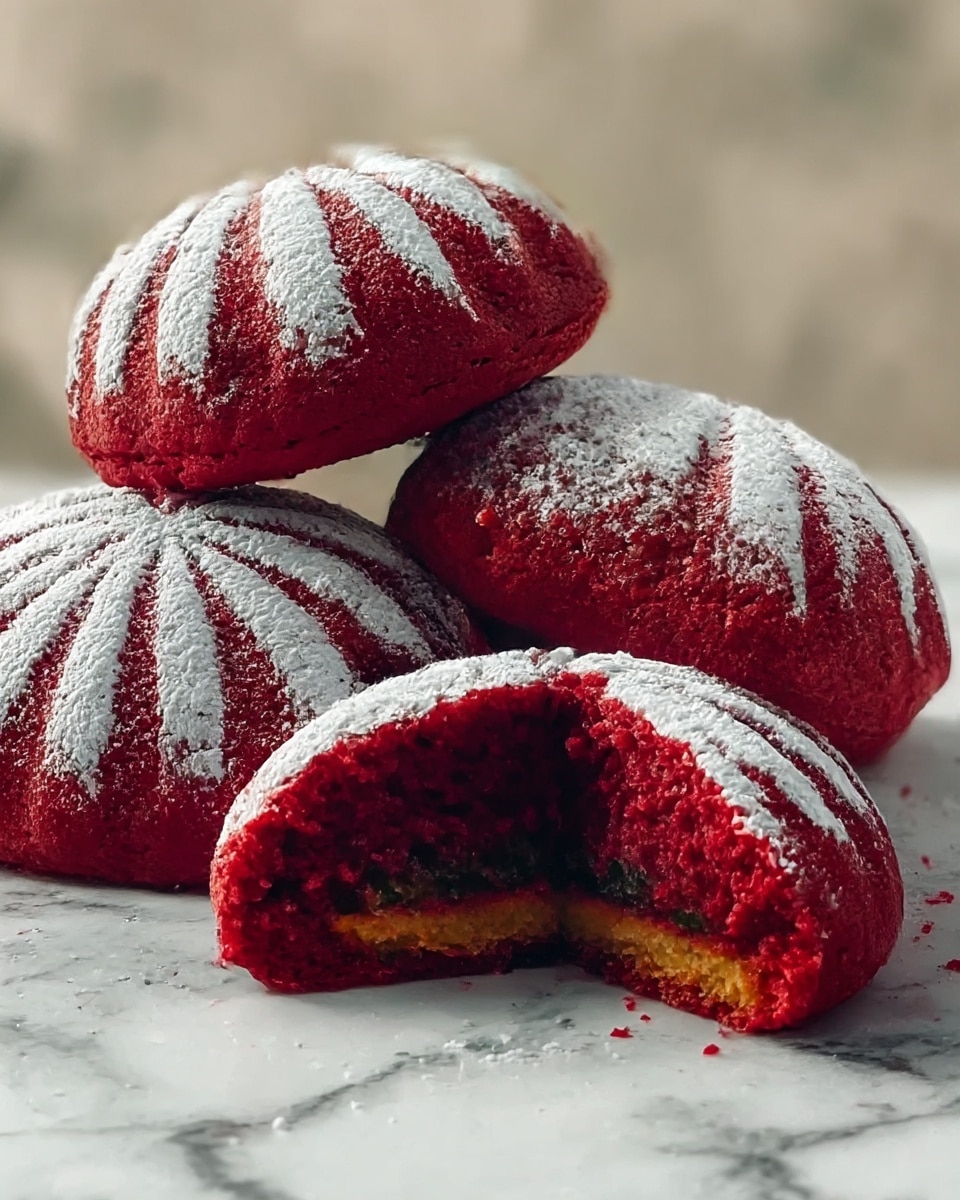
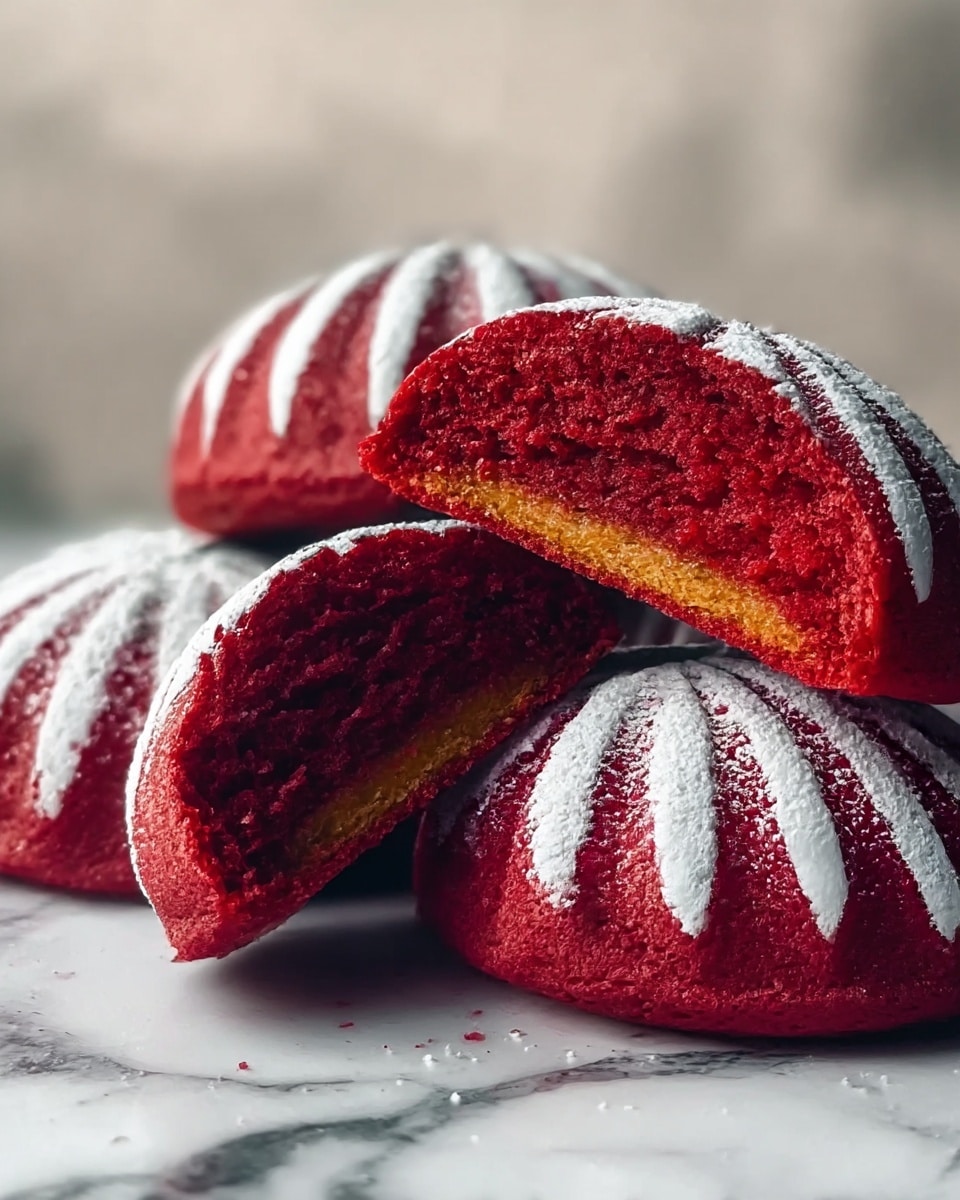
These Red Velvet Crinkle Cookies are soft, fudgy, and delightfully festive with their signature cracked tops. Perfect for holiday gatherings or any time you crave a rich, chocolatey treat with a pop of vibrant red.
Ingredients
- 1½ cups all-purpose flour
- ½ cup unsweetened cocoa powder
- 1 teaspoon baking powder
- ¼ teaspoon salt
- ½ cup unsalted butter, softened
- 1 cup granulated sugar
- 2 large eggs
- 1 teaspoon vanilla extract
- 1 tablespoon red food coloring
- ½ cup powdered sugar (for rolling)
- Optional: ½ cup white chocolate chips or chunks
- Optional: ½ cup chopped nuts (walnuts or pecans)
- Optional: Cream cheese frosting drizzle, for extra decadence
Instructions
- Step 1: Preheat your oven to 350°F (175°C) and line a baking sheet with parchment paper.
- Step 2: In a medium bowl, whisk together the flour, cocoa powder, baking powder, and salt until evenly combined.
- Step 3: In a large mixing bowl, beat the softened butter and granulated sugar together until light and fluffy, about 2–3 minutes.
- Step 4: Beat in the eggs one at a time, then add the vanilla extract and red food coloring. Mix until fully blended.
- Step 5: Gradually add the dry ingredients to the wet ingredients, mixing until a thick dough forms. If using, fold in white chocolate chips or nuts now.
- Step 6: Cover the dough and chill it in the refrigerator for at least 1 hour to make it easier to handle.
- Step 7: Scoop the chilled dough into 1-inch balls. Roll each ball thoroughly in powdered sugar, then place them about 2 inches apart on the prepared baking sheet.
- Step 8: Bake the cookies for 10–12 minutes until they are set and the tops have cracked beautifully. Let them cool on the pan for 5 minutes before transferring to a wire rack to cool completely.
- Step 9: For an extra touch, drizzle cream cheese frosting over the cooled cookies if desired. Serve and enjoy!
Tips & Variations
- For more intense red color, add a little extra red food coloring or use gel-based dye for vibrant results without altering the dough texture.
- Try folding in white chocolate chips or chopped nuts for added texture and flavor variations.
- If you prefer a richer frosting, make a quick cream cheese drizzle by mixing cream cheese, powdered sugar, and a splash of milk until smooth.
- Chilling the dough is key for easy shaping and helps the cookies develop their characteristic crinkle tops.
Storage
Store these cookies in an airtight container at room temperature for up to 4 days. For longer storage, freeze them in a sealed container or freezer bag for up to 3 months. To enjoy after freezing, thaw at room temperature and optionally warm slightly in the oven for a freshly baked feel.
How to Serve
Serve this delicious recipe with your favorite sides.
FAQs
Can I use a substitute for red food coloring?
You can use natural alternatives like beet juice or powder, but these may slightly alter the flavor and color intensity. For a true red velvet look, gel or liquid red food coloring works best.
Do these cookies taste like traditional red velvet cake?
Yes, these cookies capture the classic red velvet flavor with cocoa and vanilla, but they have a fudgier, denser texture that sets them apart from cake versions.
PrintRed Velvet Crinkle Cookies Recipe

These Red Velvet Crinkle Cookies are soft, chewy, and bursting with rich cocoa and classic red velvet flavor. Rolled in powdered sugar, they bake into delightful cracked tops that reveal a moist, tender crumb inside. Optional white chocolate chips or nuts add texture, and a cream cheese frosting drizzle makes them irresistibly decadent. Perfect for holidays or any special occasion, these cookies bring vibrant color and festive charm to your cookie jar.
- Prep Time: 15 minutes
- Cook Time: 12 minutes
- Total Time: 1 hour 27 minutes
- Yield: 24 cookies 1x
- Category: Dessert
- Method: Baking
- Cuisine: American
Ingredients
Essential Ingredients:
- 1½ cups all-purpose flour
- ½ cup unsweetened cocoa powder
- 1 teaspoon baking powder
- ¼ teaspoon salt
- ½ cup unsalted butter, softened
- 1 cup granulated sugar
- 2 large eggs
- 1 teaspoon vanilla extract
- 1 tablespoon red food coloring
- ½ cup powdered sugar (for rolling)
Optional Add-Ons:
- ½ cup white chocolate chips or chunks
- ½ cup chopped nuts (walnuts or pecans)
- Cream cheese frosting drizzle, for extra decadence
Instructions
- Preheat oven: Set your oven to 350°F (175°C) and line a baking sheet with parchment paper to prepare for baking your cookies.
- Mix dry ingredients: In a medium bowl, whisk together the all-purpose flour, unsweetened cocoa powder, baking powder, and salt to ensure even distribution of leavening and flavor.
- Cream butter and sugar: In a large mixing bowl, beat the softened unsalted butter and granulated sugar together until the mixture is light and fluffy, about 2 to 3 minutes. This step is crucial for a tender crumb.
- Add eggs and flavor: Beat in the eggs one at a time, ensuring each is fully incorporated before adding the next. Then mix in the vanilla extract and red food coloring until the dough is well combined and vibrant red.
- Combine: Gradually add the dry ingredient mixture to the wet ingredients, mixing until a thick cookie dough forms. If desired, fold in white chocolate chips or chopped nuts evenly.
- Chill: Cover the dough and refrigerate for at least 1 hour to make it easier to shape and to develop flavors.
- Shape and coat: Scoop the chilled dough into 1-inch balls and roll each ball thoroughly in powdered sugar until well coated. Place them about 2 inches apart on the prepared baking sheet to allow spreading during baking.
- Bake: Bake the cookies in the preheated oven for 10 to 12 minutes, or until they are set and the tops have formed characteristic crinkles. Remove from the oven and let cookies cool on the baking sheet for 5 minutes before transferring them to a wire rack to cool completely.
- Serve: Optionally drizzle the cooled cookies with cream cheese frosting for an extra layer of rich decadence. Enjoy your festive and delicious red velvet crinkle cookies!
Notes
- Chilling the dough is essential for easy handling and to achieve the signature crinkle effect during baking.
- Rolling the dough balls generously in powdered sugar creates the beautiful cracked surface once baked.
- You can customize the cookies by adding white chocolate chips or nuts for added texture and flavor.
- For best results, do not overbake; cookies should be set but still soft inside.
- Store cooled cookies in an airtight container at room temperature for up to 5 days or freeze for longer storage.
Keywords: red velvet cookies, crinkle cookies, holiday cookies, cocoa cookies, cream cheese drizzle, festive cookies