Rice Krispy Treat No-Bake Cheesecake That Takes You Back Recipe
Introduction
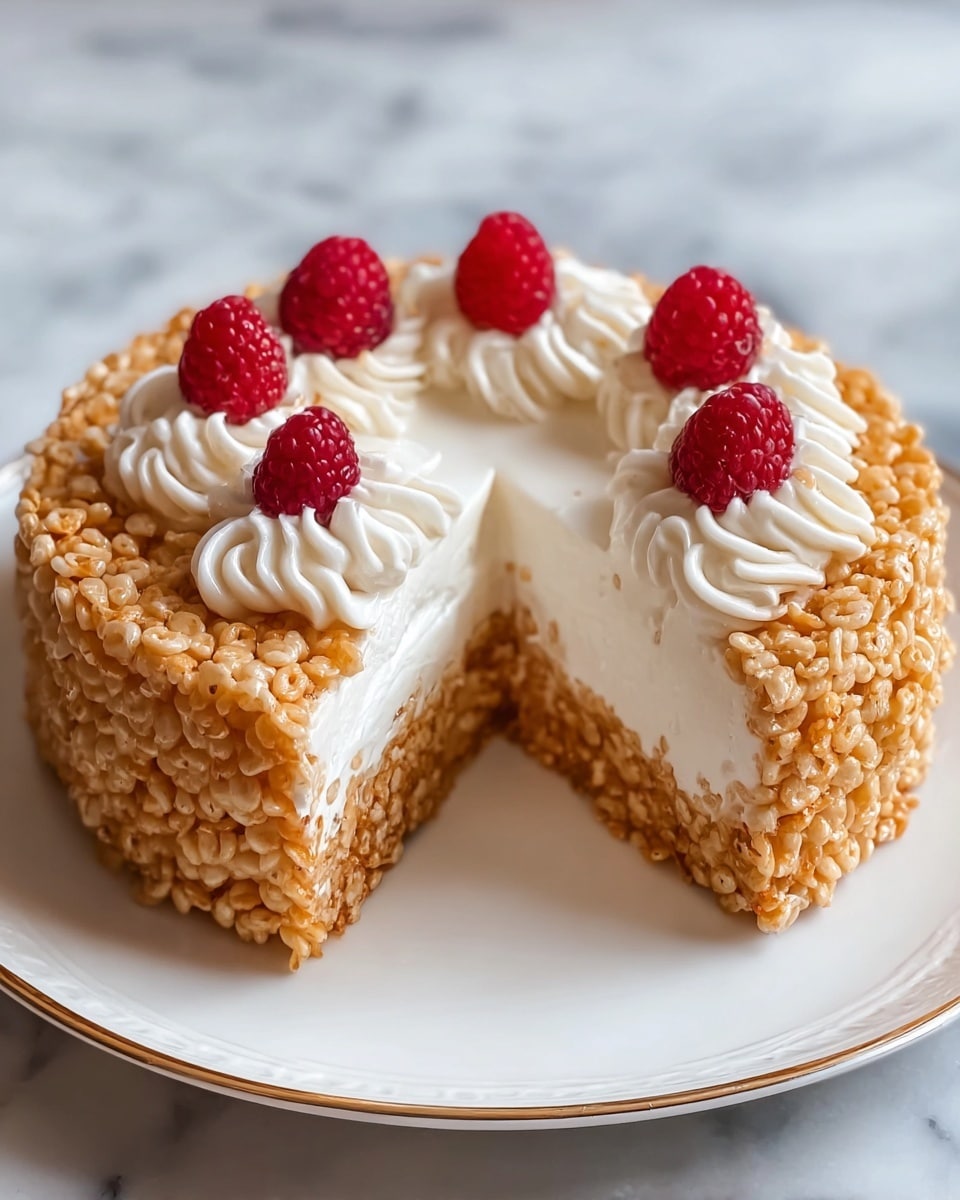
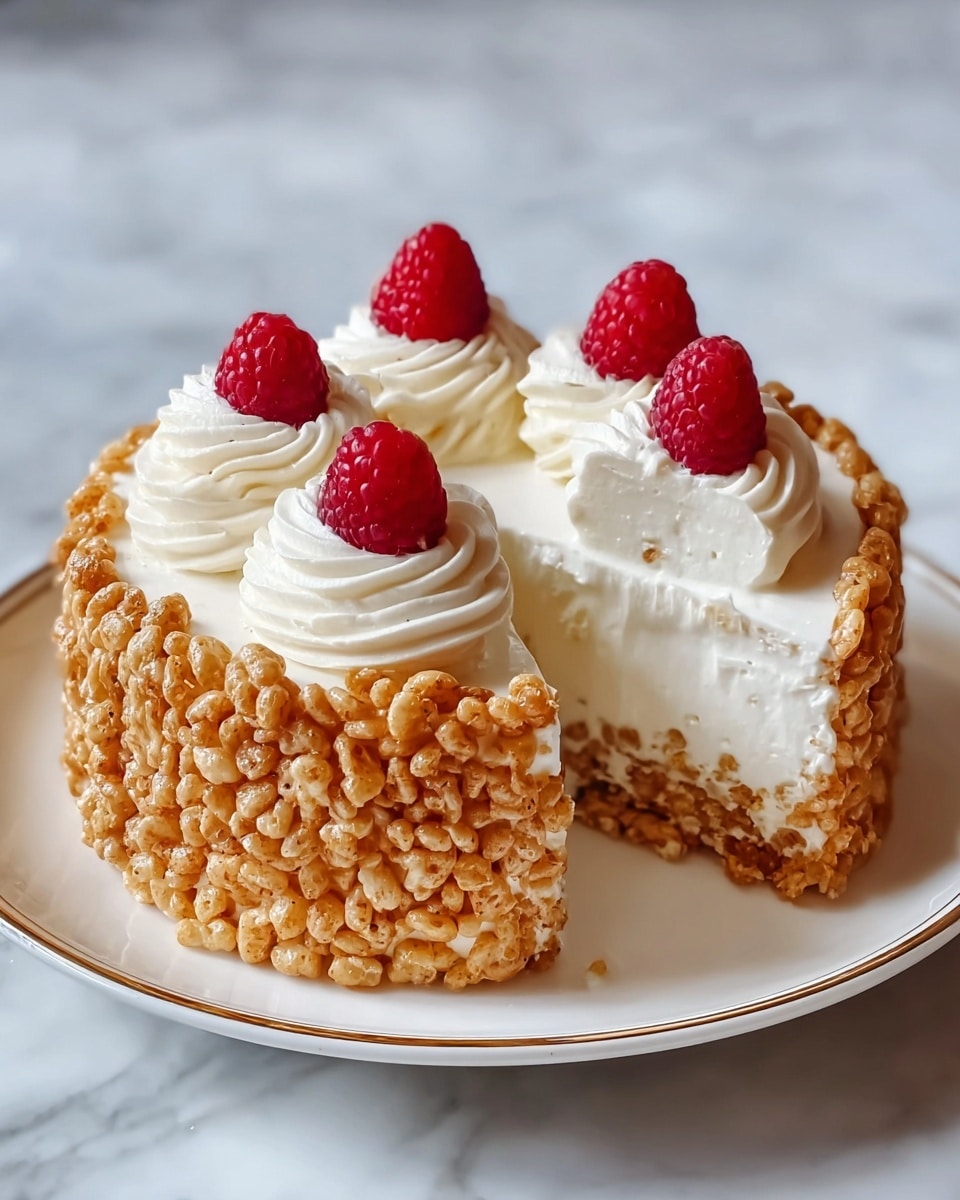
This Rice Krispy Treat No-Bake Cheesecake combines the nostalgic crunch of classic Rice Krispies with a smooth, creamy cheesecake filling. It’s an easy, no-bake dessert that’s perfect for gatherings or a special treat anytime.
Ingredients
- 6 cups Rice Krispies cereal (use gluten-free crispy rice cereal for a gluten-free version)
- 3 tablespoons salted butter (can substitute with unsalted butter if preferred)
- 4 cups miniature marshmallows
- 8 oz cream cheese, softened
- 1/2 cup granulated sugar (brown sugar can be used for a different taste)
- 1 teaspoon pure vanilla extract (may substitute with vanilla bean paste for more intense flavor)
- 7 oz marshmallow crème (can replace with melted mini marshmallows if necessary)
- 8 oz Cool Whip (homemade whipped cream is a good substitute)
Instructions
- Step 1: Grease a 9- or 10-inch springform pan lightly with nonstick spray to prepare for the crust.
- Step 2: In a saucepan over low heat, melt the butter and miniature marshmallows together until smooth, stirring constantly.
- Step 3: Remove from heat and stir in the Rice Krispies until evenly coated.
- Step 4: Firmly press the mixture into the bottom and slightly up the sides of the prepared pan. Let it cool for 10–15 minutes to set.
- Step 5: In a mixing bowl, beat the softened cream cheese, granulated sugar, and vanilla extract until smooth and creamy.
- Step 6: Mix in the marshmallow crème, then gently fold in the Cool Whip until fully combined.
- Step 7: Pour the creamy filling over the cooled crust and smooth the top with a spatula.
- Step 8: Refrigerate the cheesecake for at least 2 hours or overnight to allow it to set.
- Step 9: Before serving, garnish with additional whipped cream and cubed Rice Krispy Treats if desired.
Tips & Variations
- To make this dessert gluten-free, use a gluten-free crispy rice cereal for the crust.
- For a richer vanilla flavor, substitute vanilla extract with vanilla bean paste.
- Homemade whipped cream can be used instead of Cool Whip for a fresher taste.
- Add fresh berries on top for a fruity twist and extra color.
Storage
Store the cheesecake covered in the refrigerator for up to 3 days. To serve, let it sit at room temperature for 10 minutes to soften slightly. This cheesecake is best enjoyed chilled and should not be left out for extended periods.
How to Serve
Serve this delicious recipe with your favorite sides.
FAQs
Can I make this cheesecake without a springform pan?
While a springform pan is ideal for easy removal, you can use an 8- or 9-inch regular cake pan lined with parchment paper. Just be careful when removing the cheesecake as it will be more delicate.
Can I freeze this cheesecake?
Yes, you can freeze the cheesecake for up to 1 month. Wrap it tightly in plastic wrap and aluminum foil. Thaw overnight in the refrigerator before serving for the best texture.
PrintRice Krispy Treat No-Bake Cheesecake That Takes You Back Recipe

This no-bake Rice Krispy Treat Cheesecake combines the classic crispy rice cereal with a rich and creamy cheesecake filling, creating a nostalgic dessert that’s easy to prepare and perfect for any occasion. A buttery marshmallow crust supports a smooth, fluffy filling enhanced with marshmallow crème and Cool Whip, then chilled to set. Garnished with whipped cream and extra Rice Krispy Treats, this recipe delivers a delightful balance of crunchy texture and creamy sweetness without turning on the oven.
- Prep Time: 20 minutes
- Cook Time: 10 minutes
- Total Time: 2 hours 30 minutes (including chilling time)
- Yield: 8 servings 1x
- Category: Dessert
- Method: No-Cook
- Cuisine: American
- Diet: Gluten Free
Ingredients
For the Crust
- 6 cups Rice Krispies cereal (use gluten-free crispy rice cereal for a gluten-free version)
- 3 tablespoons salted butter (can substitute with unsalted butter if preferred)
- 4 cups miniature marshmallows
For the Filling
- 8 oz cream cheese, softened
- 1/2 cup granulated sugar (brown sugar can be used for a different taste)
- 1 teaspoon pure vanilla extract (may substitute with vanilla bean paste)
- 7 oz marshmallow crème (can replace with melted mini marshmallows if necessary)
- 8 oz Cool Whip (homemade whipped cream is a good substitute)
Instructions
- Prep the Pan: Grease a 9- or 10-inch springform pan thoroughly with nonstick spray to ensure easy removal of the cheesecake later.
- Make the Crust: In a saucepan over low heat, melt the butter and miniature marshmallows together, stirring frequently until the mixture is smooth and fully combined. Remove from heat and immediately stir in the Rice Krispies cereal until evenly coated.
- Form the Crust: Transfer the marshmallow-coated Rice Krispies into the prepared springform pan. Using firm pressure, press the mixture evenly into the bottom and slightly up the sides to create the crust base. Let it cool for 10-15 minutes to set.
- Prepare the Filling: In a mixing bowl, beat the softened cream cheese, granulated sugar, and vanilla extract until completely smooth and creamy. Gently fold in the marshmallow crème, followed by the Cool Whip, mixing just until combined to maintain a light texture.
- Assemble: Pour the prepared filling over the cooled Rice Krispy crust in the springform pan. Use a spatula to smooth out the top surface evenly.
- Chill: Place the assembled cheesecake into the refrigerator and chill for at least 2 hours, or preferably overnight, to allow the filling to set firmly.
- Garnish & Serve: Before serving, top the cheesecake with additional whipped cream and cubed pieces of Rice Krispy Treats for added texture and decoration. Slice and enjoy!
Notes
- Use gluten-free crispy rice cereal to make this dessert gluten-free.
- For a richer flavor, substitute vanilla bean paste for the vanilla extract.
- If marshmallow crème is unavailable, melt an equivalent amount of mini marshmallows as a replacement.
- This cheesecake is best chilled overnight for optimal texture and flavor.
- Leftovers should be stored in the refrigerator and consumed within 2-3 days for freshness.
Keywords: Rice Krispy Treats, no-bake cheesecake, marshmallow crust, easy dessert, creamy cheesecake, gluten-free dessert, summer dessert