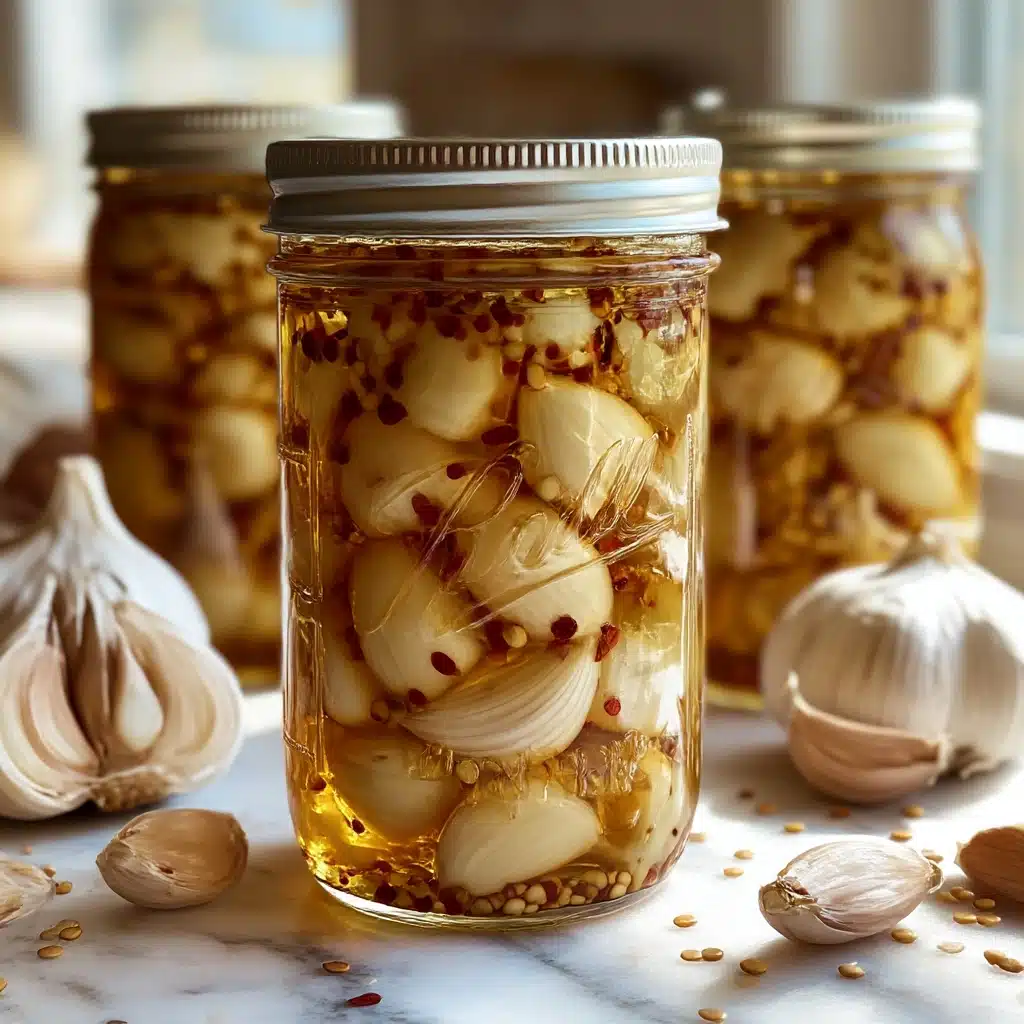
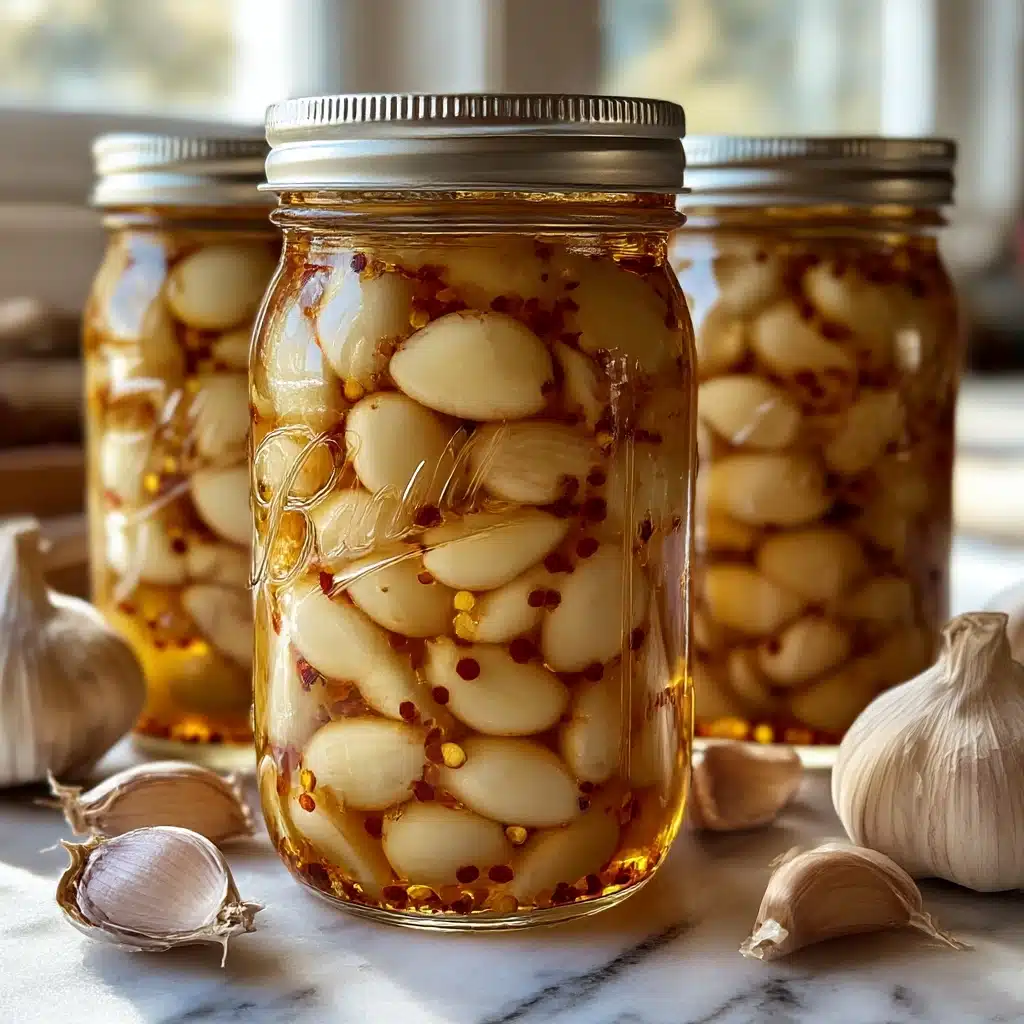
Spicy Pickled Garlic Recipe
If you are on the hunt for the perfect little fiery condiment to awaken your taste buds, look no further! This Spicy Pickled Garlic Recipe is a fantastic way to turn simple garlic cloves into a tangy, spicy, and incredibly flavorful treat. Whether you are a garlic lover or just someone craving that perfect balance of heat and acidity, this recipe brings a vibrant punch that will elevate any meal. The best part is how easy it is to make, with everyday ingredients coming together to create a jar full of bold goodness.
Ingredients You’ll Need
Gathering the right ingredients for the Spicy Pickled Garlic Recipe is straightforward and rewarding. Each element plays a vital role, whether adding heat, sweetness, or depth of flavor, ensuring a perfectly balanced result.
- Garlic cloves (2 cups): Fresh, peeled cloves form the flavorful heart of the recipe.
- Distilled white vinegar (1 cup): Provides the essential acidity for pickling and a crisp tang.
- Water (1/2 cup): Dilutes the vinegar slightly for a balanced brine.
- Sugar (1/4 cup): Adds a subtle sweetness that counteracts the sharpness of vinegar and garlic.
- Salt (1 tablespoon): Enhances overall flavor and helps preserve the garlic.
- Red pepper flakes (1 teaspoon): Introduces gentle heat that wakes up your palate.
- Black peppercorns (1 teaspoon): Adds a warm, peppery depth subtly in the background.
- Bay leaf (1): Infuses an aromatic layer that’s earthy and slightly floral.
- Mustard seeds (1 tablespoon): Brings a mild spicy crunch that complements the garlic beautifully.
- Small dried chili (optional): For those who like it hotter, this adds an extra kick.
How to Make Spicy Pickled Garlic Recipe
Step 1: Prepare the Garlic
Start by peeling your garlic cloves carefully. This step might take some time, but it is essential to ensure that every clove is ready to soak up all the vibrant pickling flavors. Place the peeled garlic into a clean glass jar or container that’s suitable for pickling.
Step 2: Make the Pickling Solution
In a small saucepan, mix together the distilled white vinegar, water, sugar, and salt. Bring this mixture to a gentle boil over medium heat, stirring occasionally to make sure the sugar and salt fully dissolve. This creates the flavorful pickling liquid that will transform the garlic.
Step 3: Add the Spices
Once your pickling solution reaches a boil, add the red pepper flakes, black peppercorns, mustard seeds, bay leaf, and the dried chili if you opt for extra heat. Let everything simmer together for about 5 minutes. This simmering process encourages the spices to infuse deeply into the brine.
Step 4: Pickling Process
Carefully pour the hot pickling solution over the garlic cloves in your jar. Ensure the garlic is fully submerged to allow for even pickling. If necessary, use a clean weight or spoon to press down the garlic so it stays covered by the liquid. This step seals in the flavors.
Step 5: Seal and Let It Sit
Seal the jar tightly and let it sit at room temperature for 1 to 2 hours to cool down properly. After this, transfer it to the refrigerator. While you can enjoy the garlic after 24 hours, the flavors will deepen and develop beautifully over time, making it even more enjoyable after a few days or weeks.
Step 6: Serve and Enjoy
Once the garlic is perfectly pickled, it’s ready to add a spicy zing to your dishes. Use it as a tangy topping, in salads, sandwiches, or alongside grilled meats for a mouth-watering burst of flavor that’s hard to resist.
How to Serve Spicy Pickled Garlic Recipe
Garnishes
Sprinkle some chopped fresh herbs like parsley or cilantro on top of your Spicy Pickled Garlic for a fresh contrast and pop of color. You can also scatter a few of the pickling spices over the dish to enhance the aromatic experience. These simple touches make the flavors sing even louder.
Side Dishes
Spicy pickled garlic pairs beautifully with grilled meats, roasted vegetables, and hearty sandwiches. It adds a delightful zing to charcuterie boards and acts as a flavor-packed companion to creamy cheeses or avocado toast, balancing richness with its sharp, spicy brightness.
Creative Ways to Present
Think beyond just a condiment—try blending the pickled garlic into dressings, marinades, or sauces to add complexity and heat to your cooking. You can also chop it finely and mix it into compound butters or dips for an unexpected burst of flavor that delights the palate.
Make Ahead and Storage
Storing Leftovers
Store your Spicy Pickled Garlic Recipe in a sealed glass jar in the refrigerator. Properly stored, it remains fresh and flavorful for up to 3 months. The longer it sits, the more intense and harmonious the flavors become, making it a perfect make-ahead ingredient.
Freezing
Freezing pickled garlic is generally not recommended as it can alter the texture and flavor upon thawing. The clove’s crispness tends to suffer, so it’s best to enjoy this spicy treat directly from refrigerated storage for optimal taste and quality.
Reheating
Reheating isn’t necessary since this pickled garlic is meant to be enjoyed cold or at room temperature. However, if you want to incorporate it into a warm dish, stir it in towards the end of cooking to preserve its vibrant flavors and maintain that perfect spicy kick.
FAQs
Can I use regular vinegar instead of distilled white vinegar?
While distilled white vinegar is preferred for its clean, sharp acidity and colorless nature, you can use apple cider vinegar or rice vinegar as alternatives. Just keep in mind these will slightly alter the flavor and color of your pickled garlic.
How spicy is this pickled garlic?
The heat level can be adjusted according to your preference. The red pepper flakes provide a moderate kick, and the optional dried chili elevates the spice. If you prefer milder flavors, simply reduce or omit the chili and flakes.
Is it necessary to peel the garlic cloves?
Yes, peeling the garlic is essential to allow the pickling brine to penetrate and flavor each clove thoroughly. Plus, peeled cloves are easier and more enjoyable to eat once pickled.
How long should I wait before eating the pickled garlic?
Patience is key! While the garlic is technically ready after 24 hours, waiting at least a week enhances the flavor, blending the heat and tang beautifully for a more robust taste experience.
Can I reuse the pickling liquid?
Reusing the pickling brine is not recommended as it loses acidity and can harbor bacteria. For safety and flavor integrity, it’s best to prepare fresh brine each time you make the Spicy Pickled Garlic Recipe.
Final Thoughts
This Spicy Pickled Garlic Recipe is one of those special little kitchen treasures that transforms everyday garlic into a vibrant and addictive accompaniment. The perfect blend of heat, tang, and subtle sweetness will keep you reaching for more, whether spicing up your sandwiches or brightening up a simple salad. Give it a try—you’ll wonder how you ever lived without this lively jar of goodness!
PrintSpicy Pickled Garlic Recipe
This Spicy Pickled Garlic recipe transforms simple garlic cloves into a flavorful, zesty condiment with a perfect balance of heat, tanginess, and spice. Easy to prepare and versatile, it’s perfect for adding a kick to sandwiches, salads, grilled meats, and more.
- Prep Time: 15 minutes
- Cook Time: 10 minutes
- Total Time: 1 day 25 minutes
- Yield: About 2 cups 1x
- Category: Condiment, Pickle
- Method: Pickling
- Cuisine: International
- Diet: Gluten Free
Ingredients
Garlic
- 2 cups garlic cloves, peeled
Pickling Solution
- 1 cup distilled white vinegar
- 1/2 cup water
- 1/4 cup sugar
- 1 tablespoon salt
Spices
- 1 teaspoon red pepper flakes
- 1 teaspoon black peppercorns
- 1 bay leaf
- 1 tablespoon mustard seeds
- 1 small dried chili (optional for extra heat)
Instructions
- Prepare the Garlic: Start by peeling the garlic cloves. This may take some time, but the effort is well worth it. Once peeled, set them aside in a clean jar or glass container.
- Make the Pickling Solution: In a small saucepan, combine the vinegar, water, sugar, and salt. Bring this mixture to a boil over medium heat, stirring occasionally to dissolve the sugar and salt completely.
- Add the Spices: Once the pickling solution is boiling, add the red pepper flakes, black peppercorns, mustard seeds, bay leaf, and dried chili if using. Let the solution simmer for about 5 minutes to allow the flavors to infuse.
- Pickling Process: Carefully pour the hot pickling solution over the garlic cloves in the jar. Make sure the garlic is fully submerged. Use a clean weight or spoon to help press the garlic down if necessary to keep it covered by the liquid.
- Seal and Let It Sit: Seal the jar tightly and let it sit at room temperature for 1-2 hours to cool. Afterward, store it in the refrigerator. The garlic will be ready to enjoy after 24 hours, but the flavor intensifies the longer it marinates.
- Serve and Enjoy: Once pickled, use the spicy garlic in a variety of dishes or enjoy it straight from the jar. It adds a zesty, spicy flavor to sandwiches, salads, or as a topping for grilled meats.
Notes
- Use fresh, firm garlic cloves for the best texture and flavor.
- The pickled garlic can be stored in the refrigerator for up to 1 month.
- Adjust the amount of red pepper flakes and dried chili to your preferred level of spiciness.
- Ensure the garlic cloves are fully submerged in the pickling liquid to prevent spoilage.
- Letting the garlic sit longer than 24 hours enhances the flavor but will soften the garlic.
Nutrition
- Serving Size: 1 tablespoon
- Calories: 15
- Sugar: 1.5 g
- Sodium: 230 mg
- Fat: 0 g
- Saturated Fat: 0 g
- Unsaturated Fat: 0 g
- Trans Fat: 0 g
- Carbohydrates: 3.5 g
- Fiber: 0.1 g
- Protein: 0.3 g
- Cholesterol: 0 mg
Keywords: spicy pickled garlic, pickled garlic recipe, garlic condiment, spicy garlic, pickling garlic, homemade pickled garlic